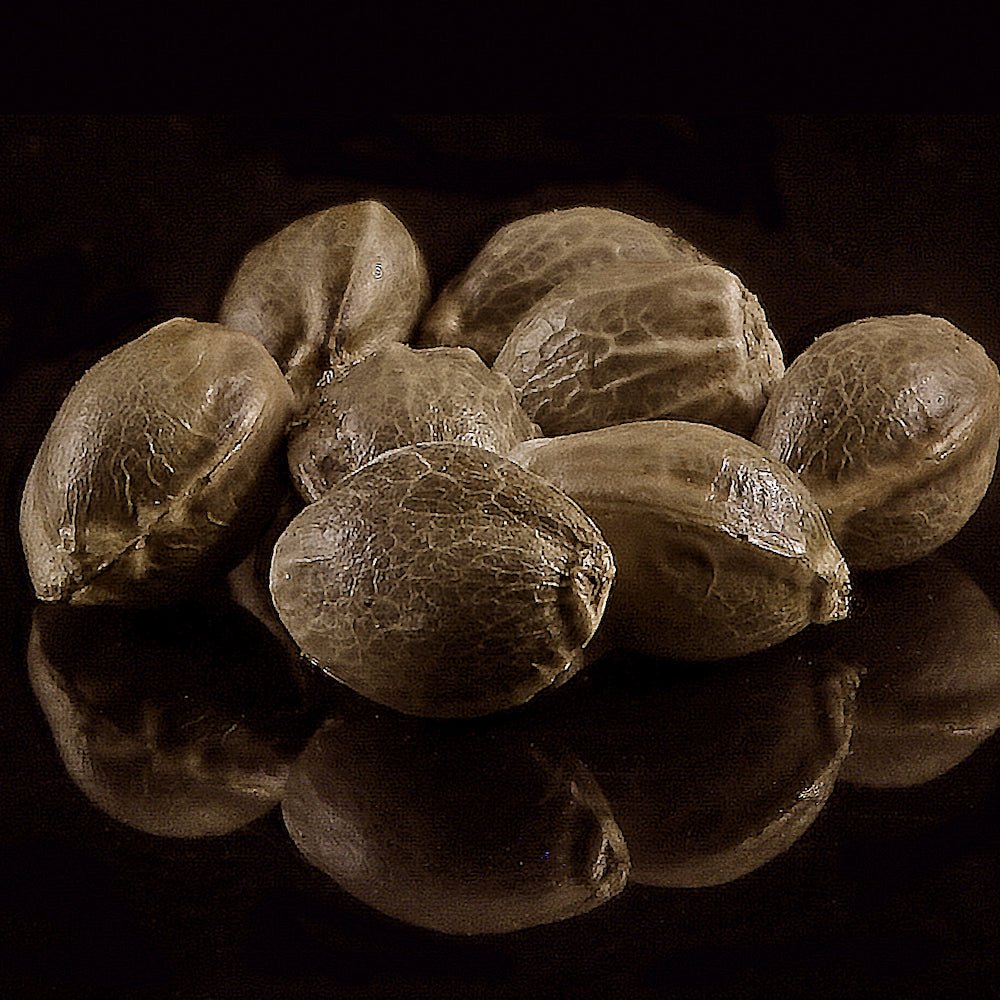
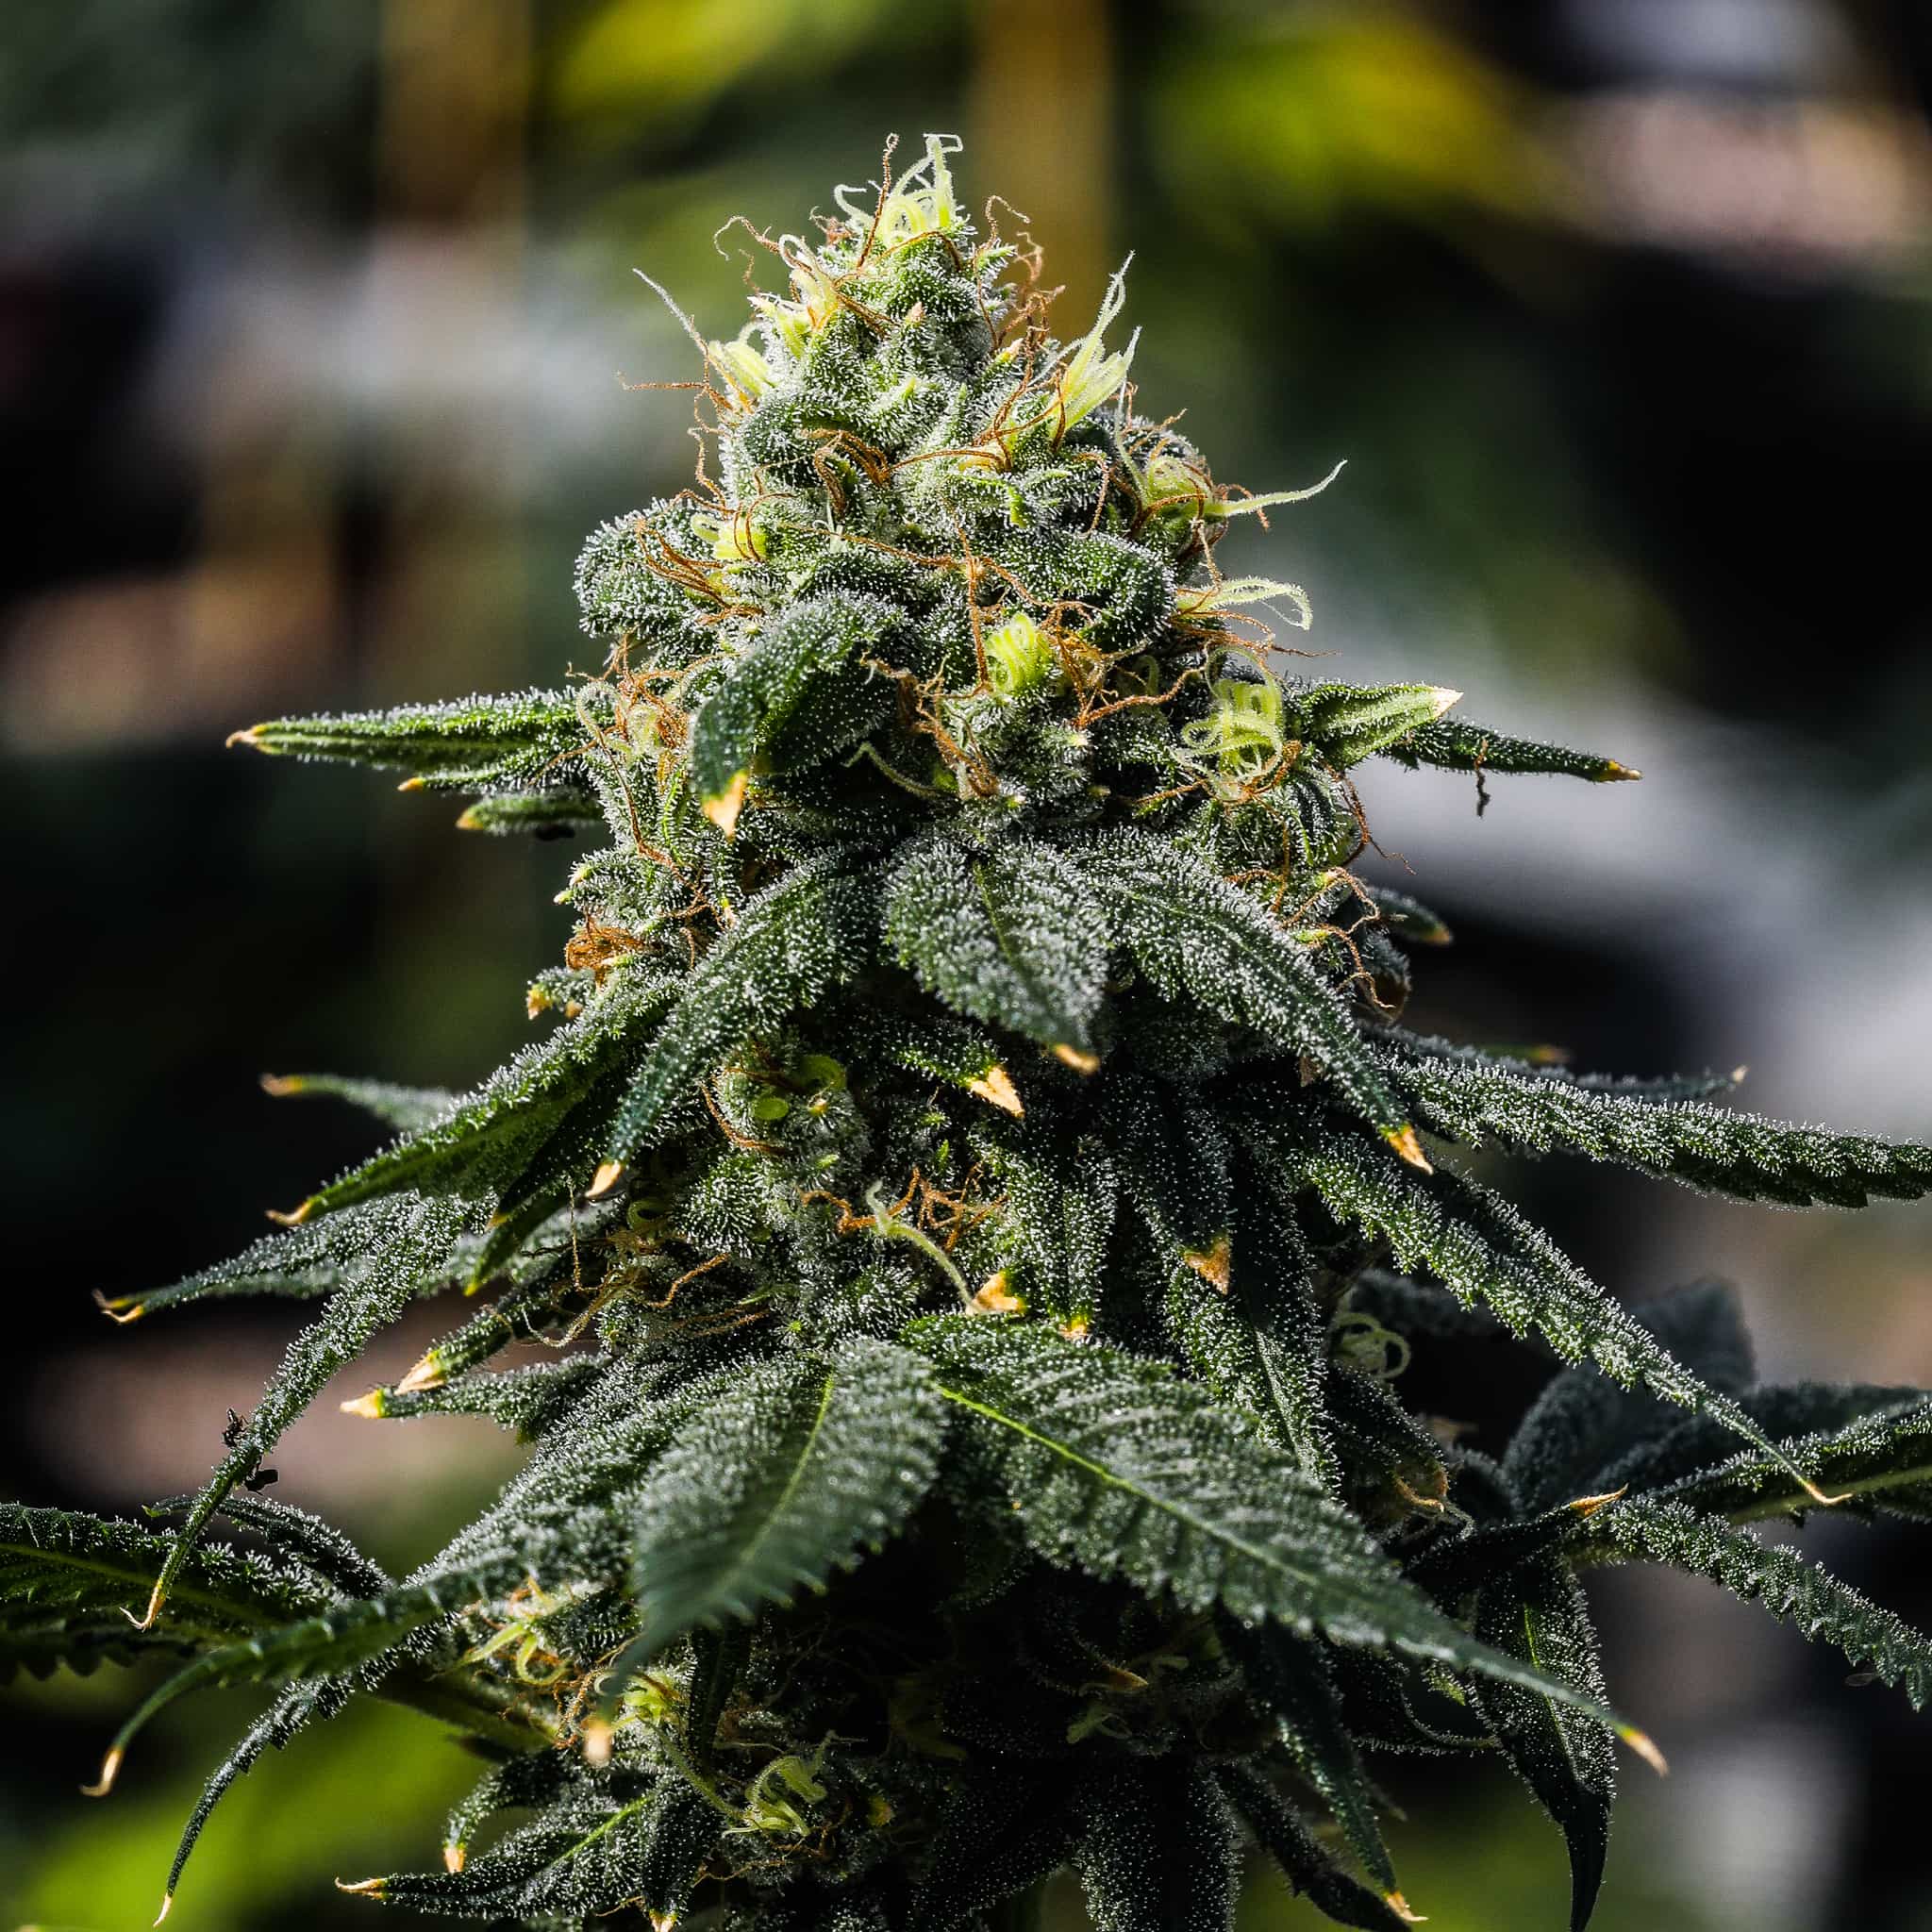
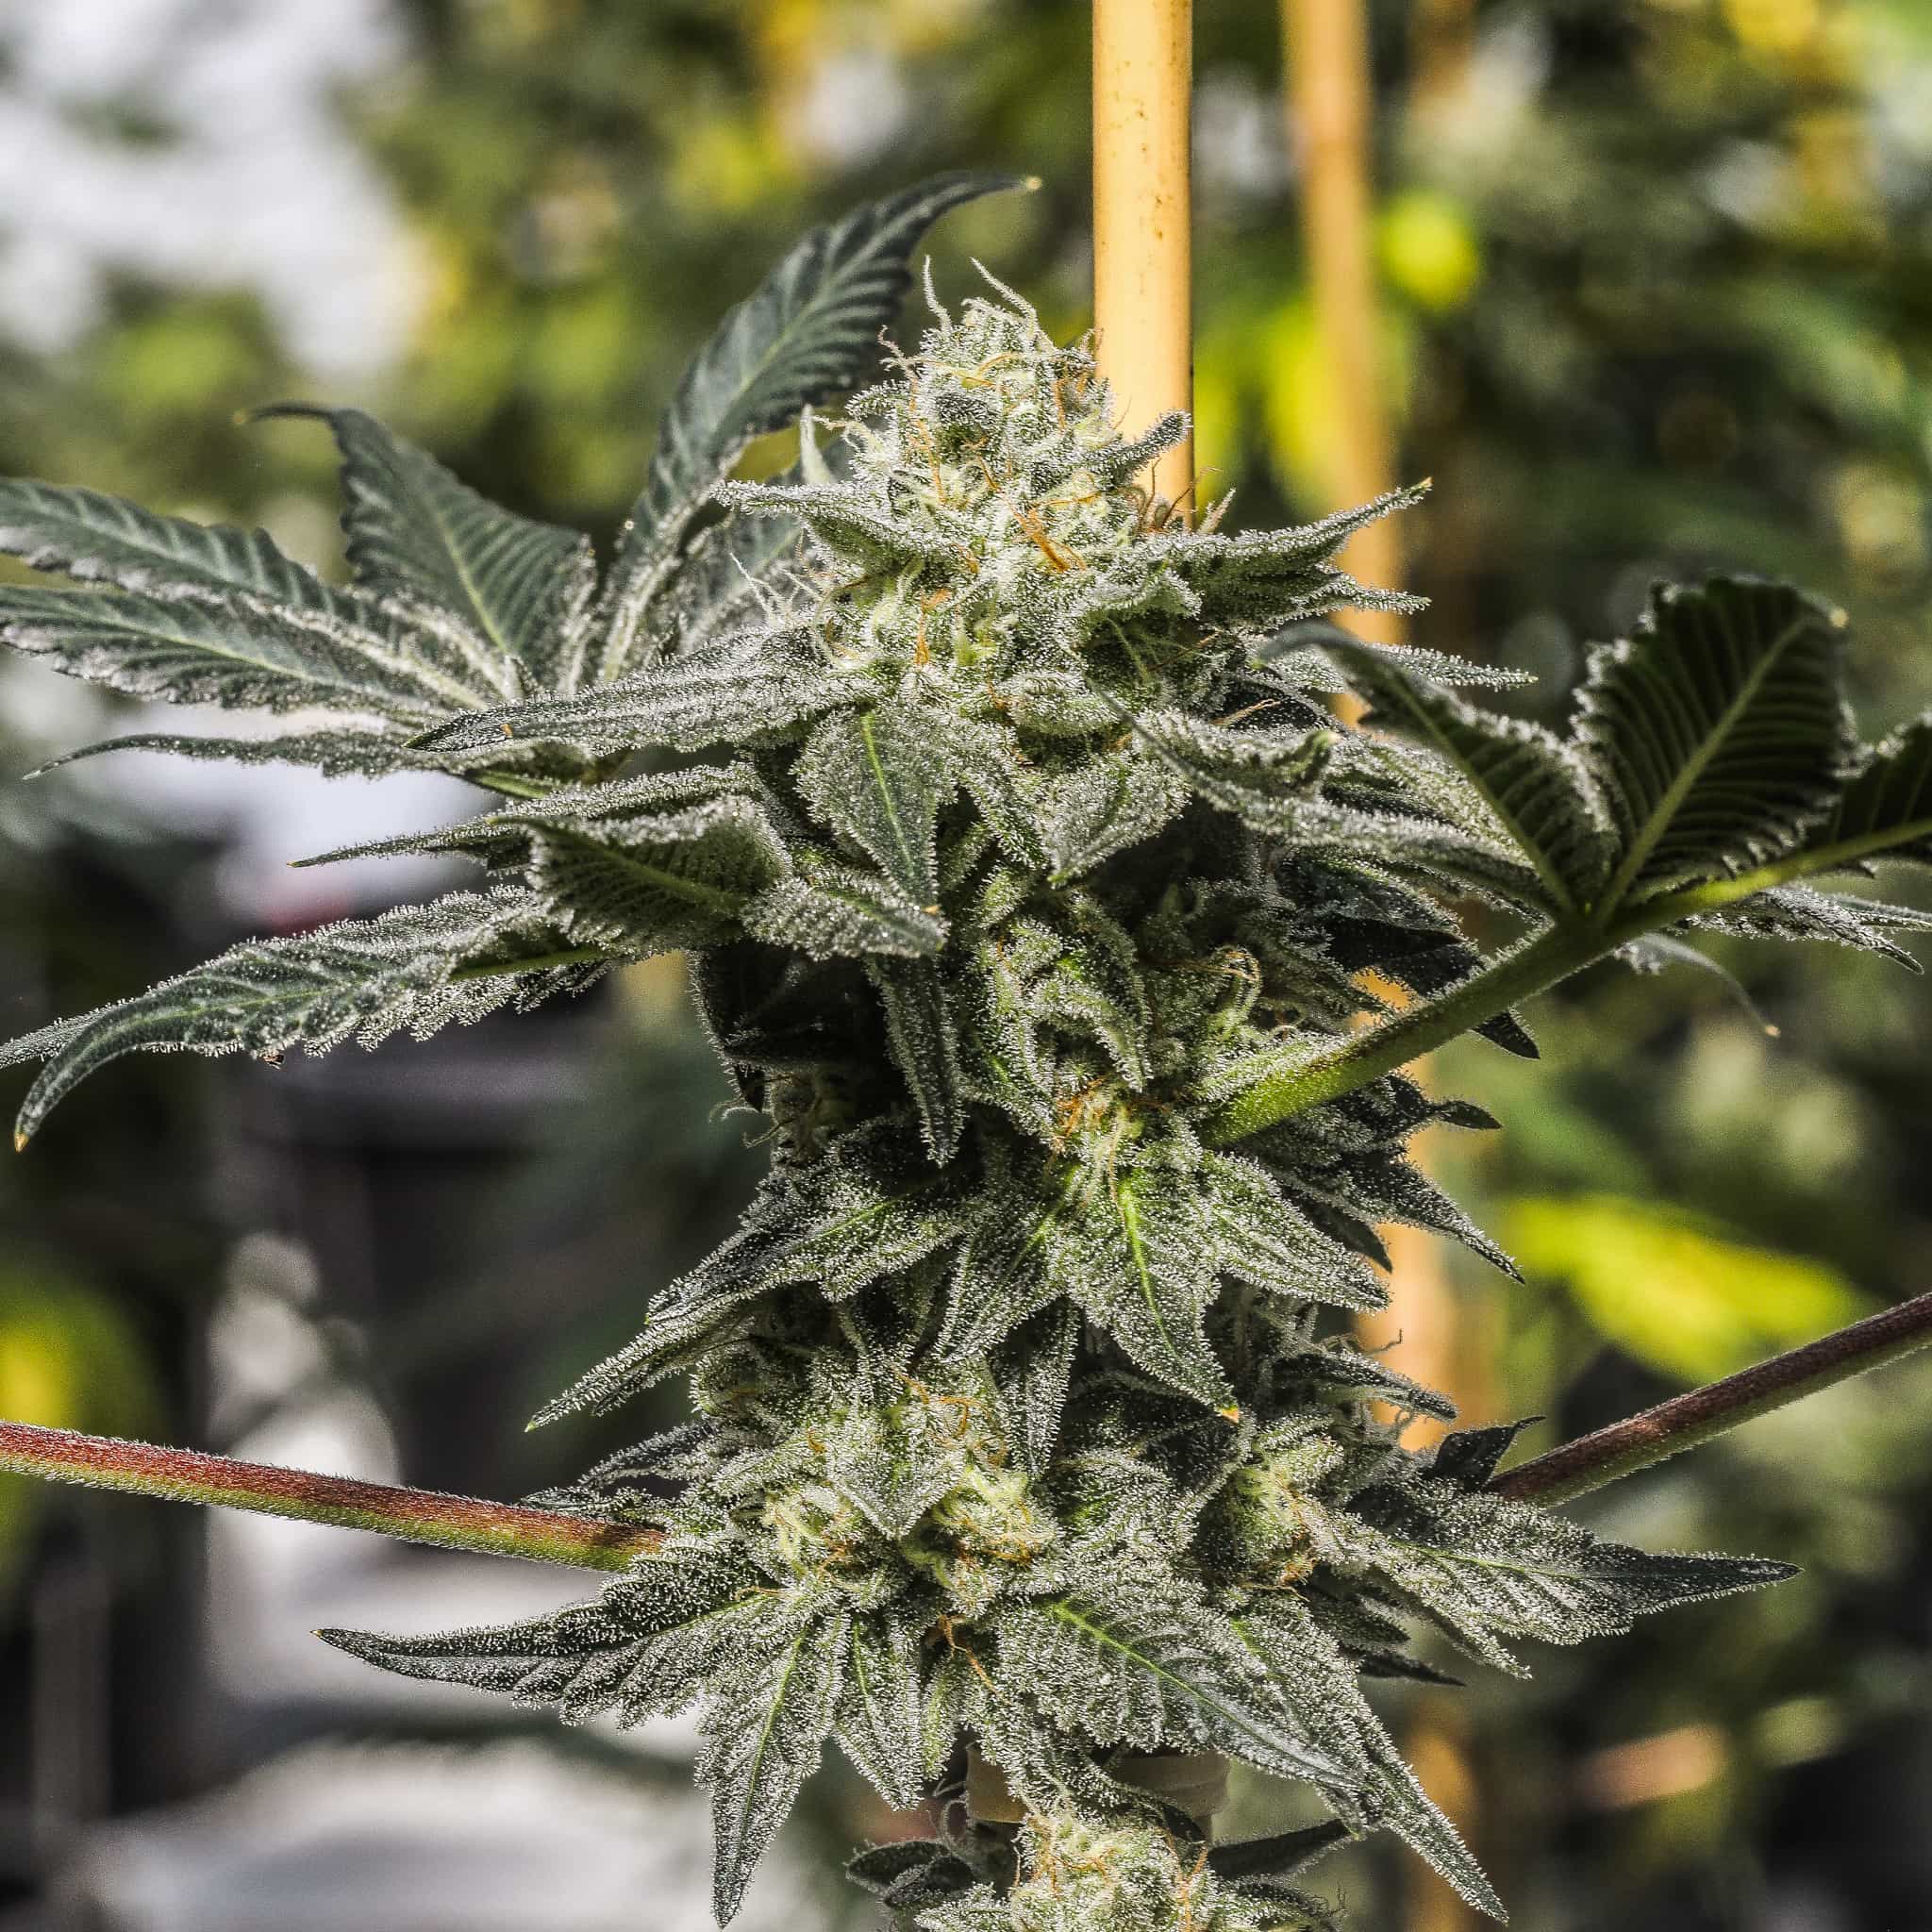
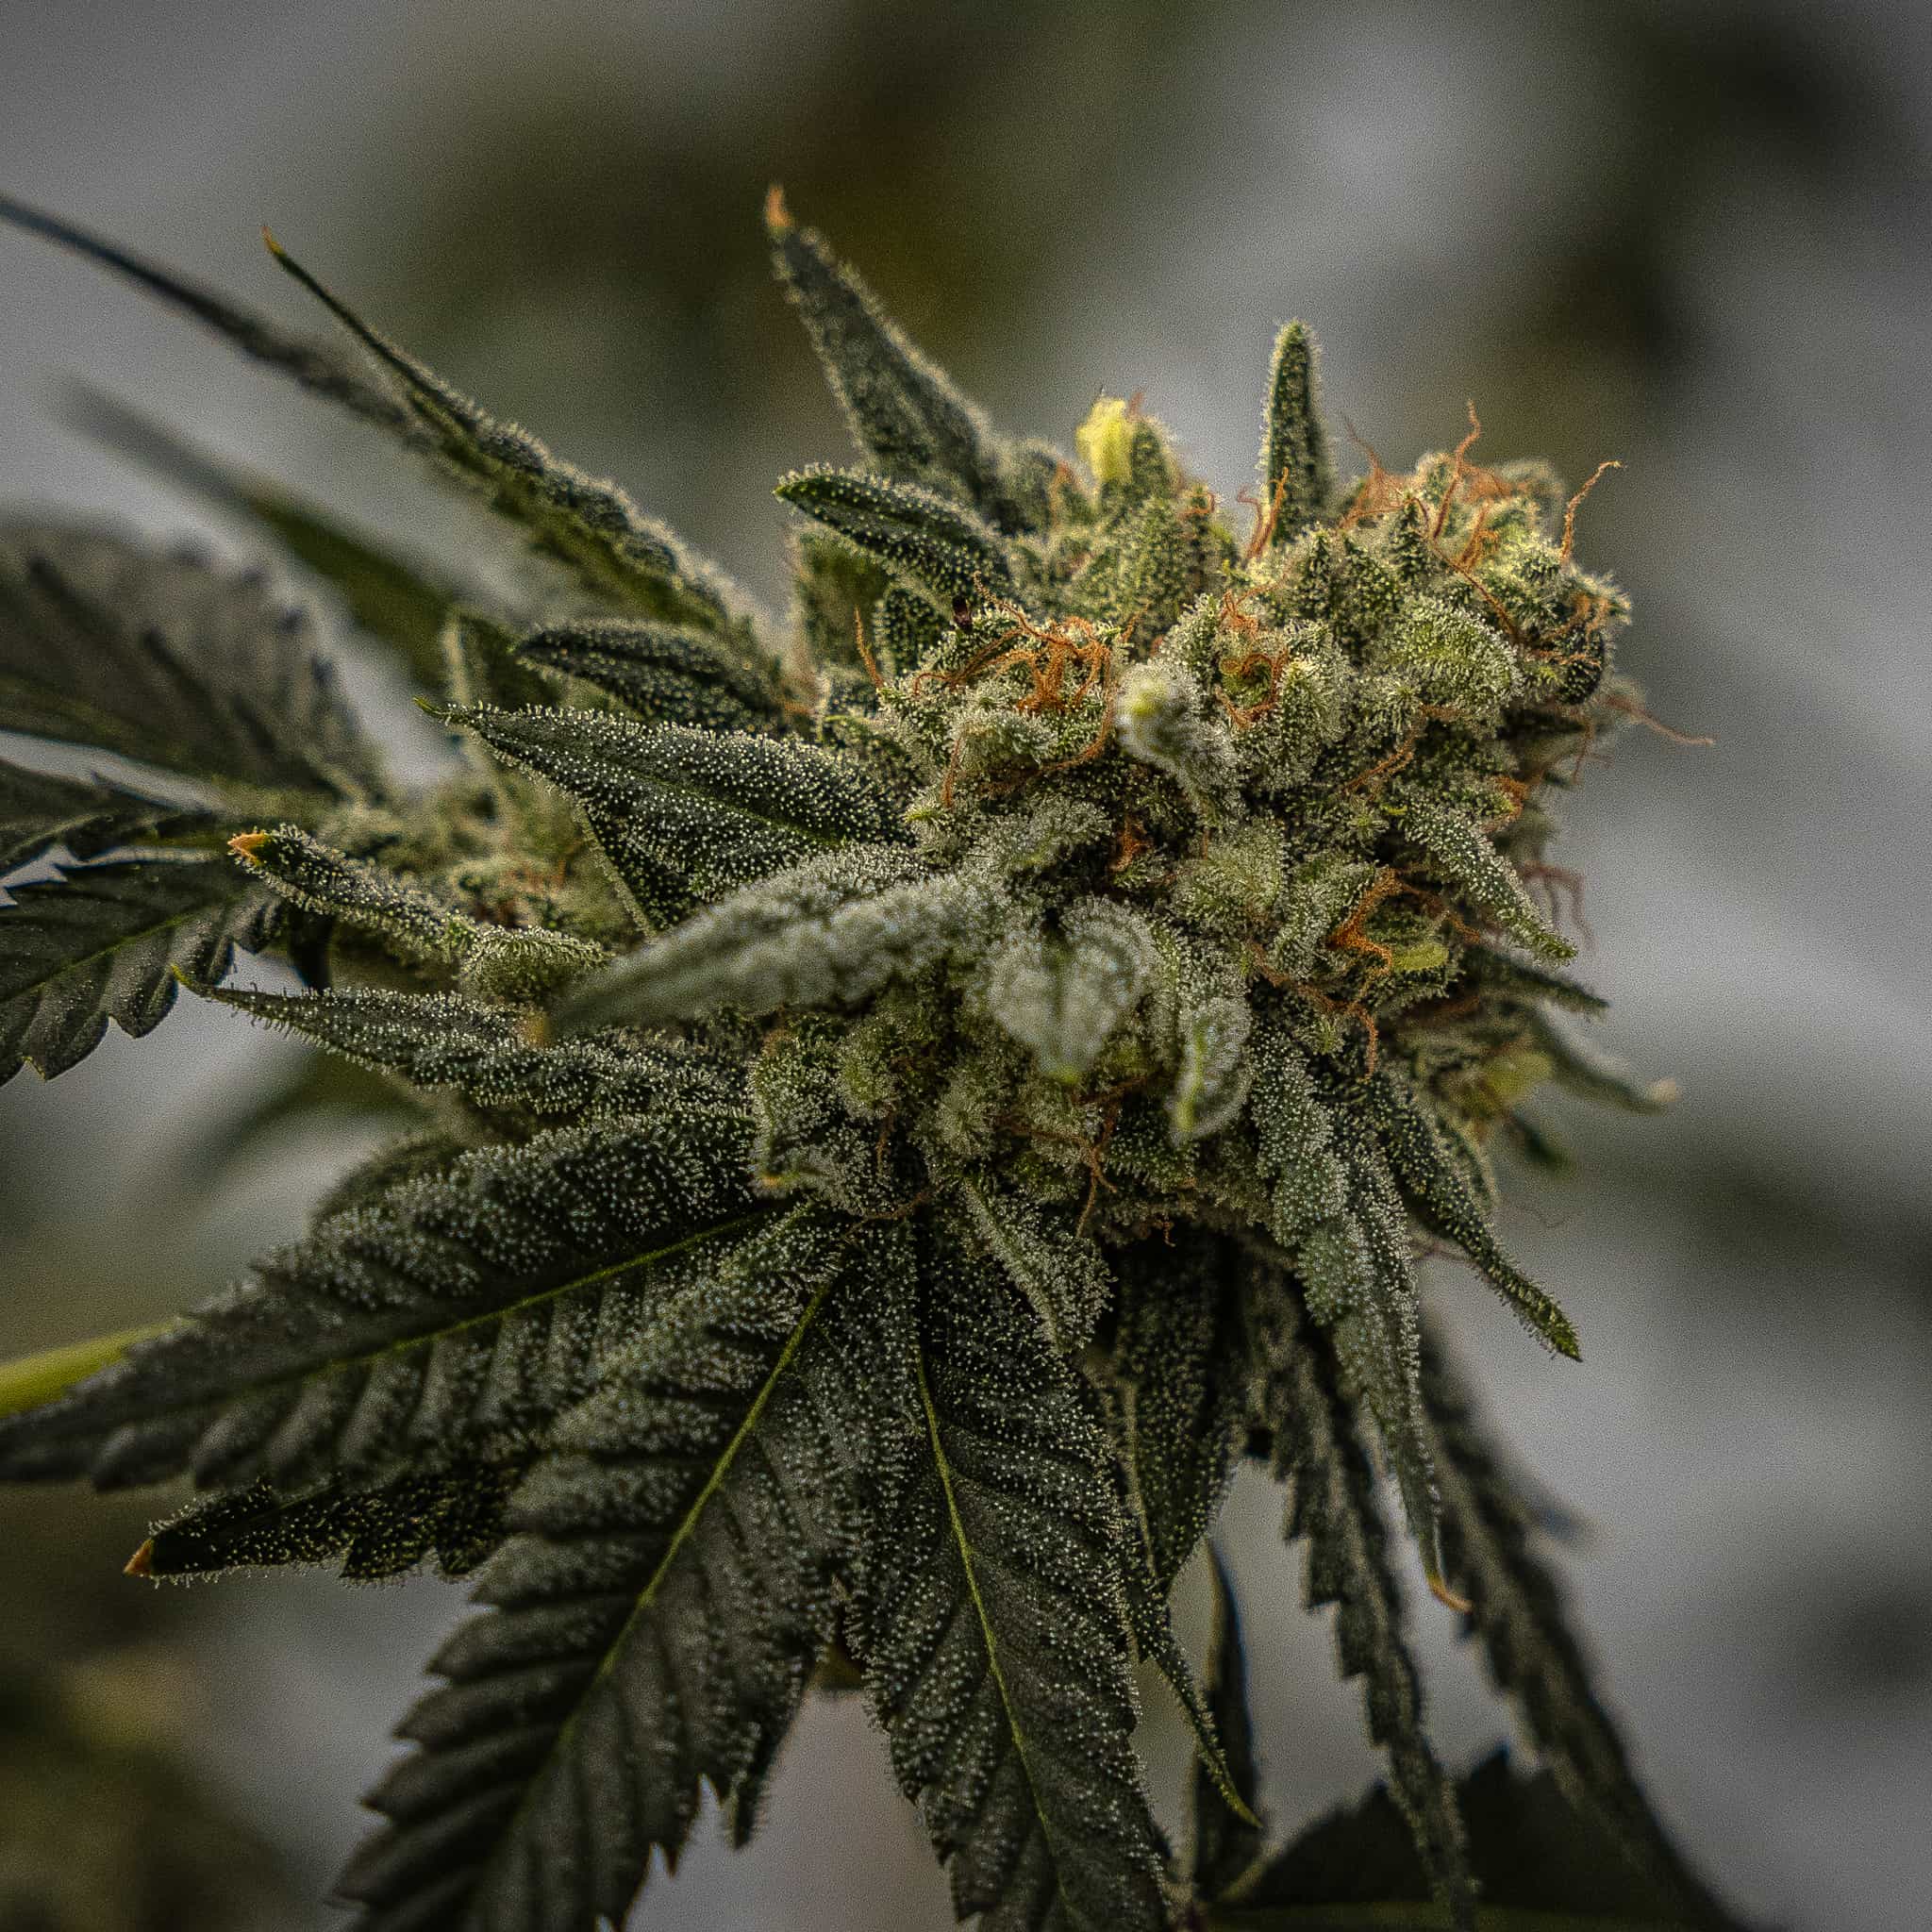
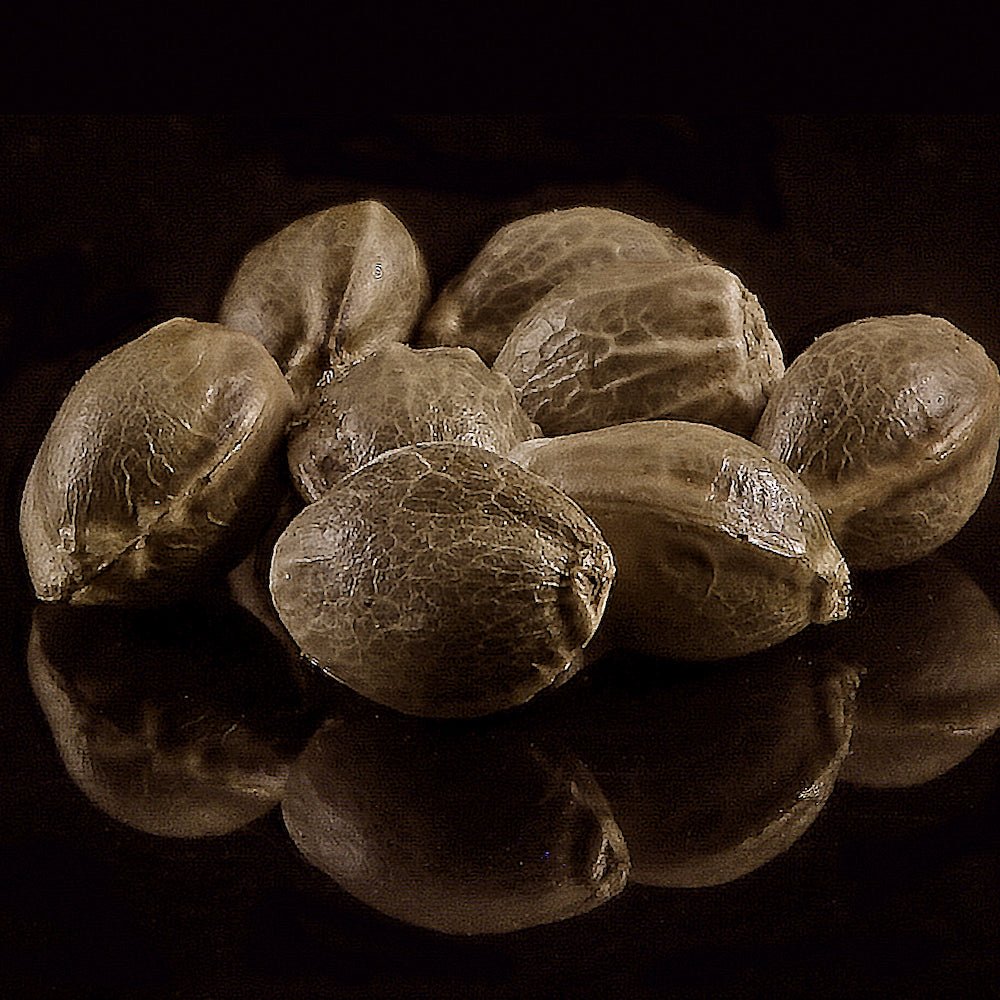
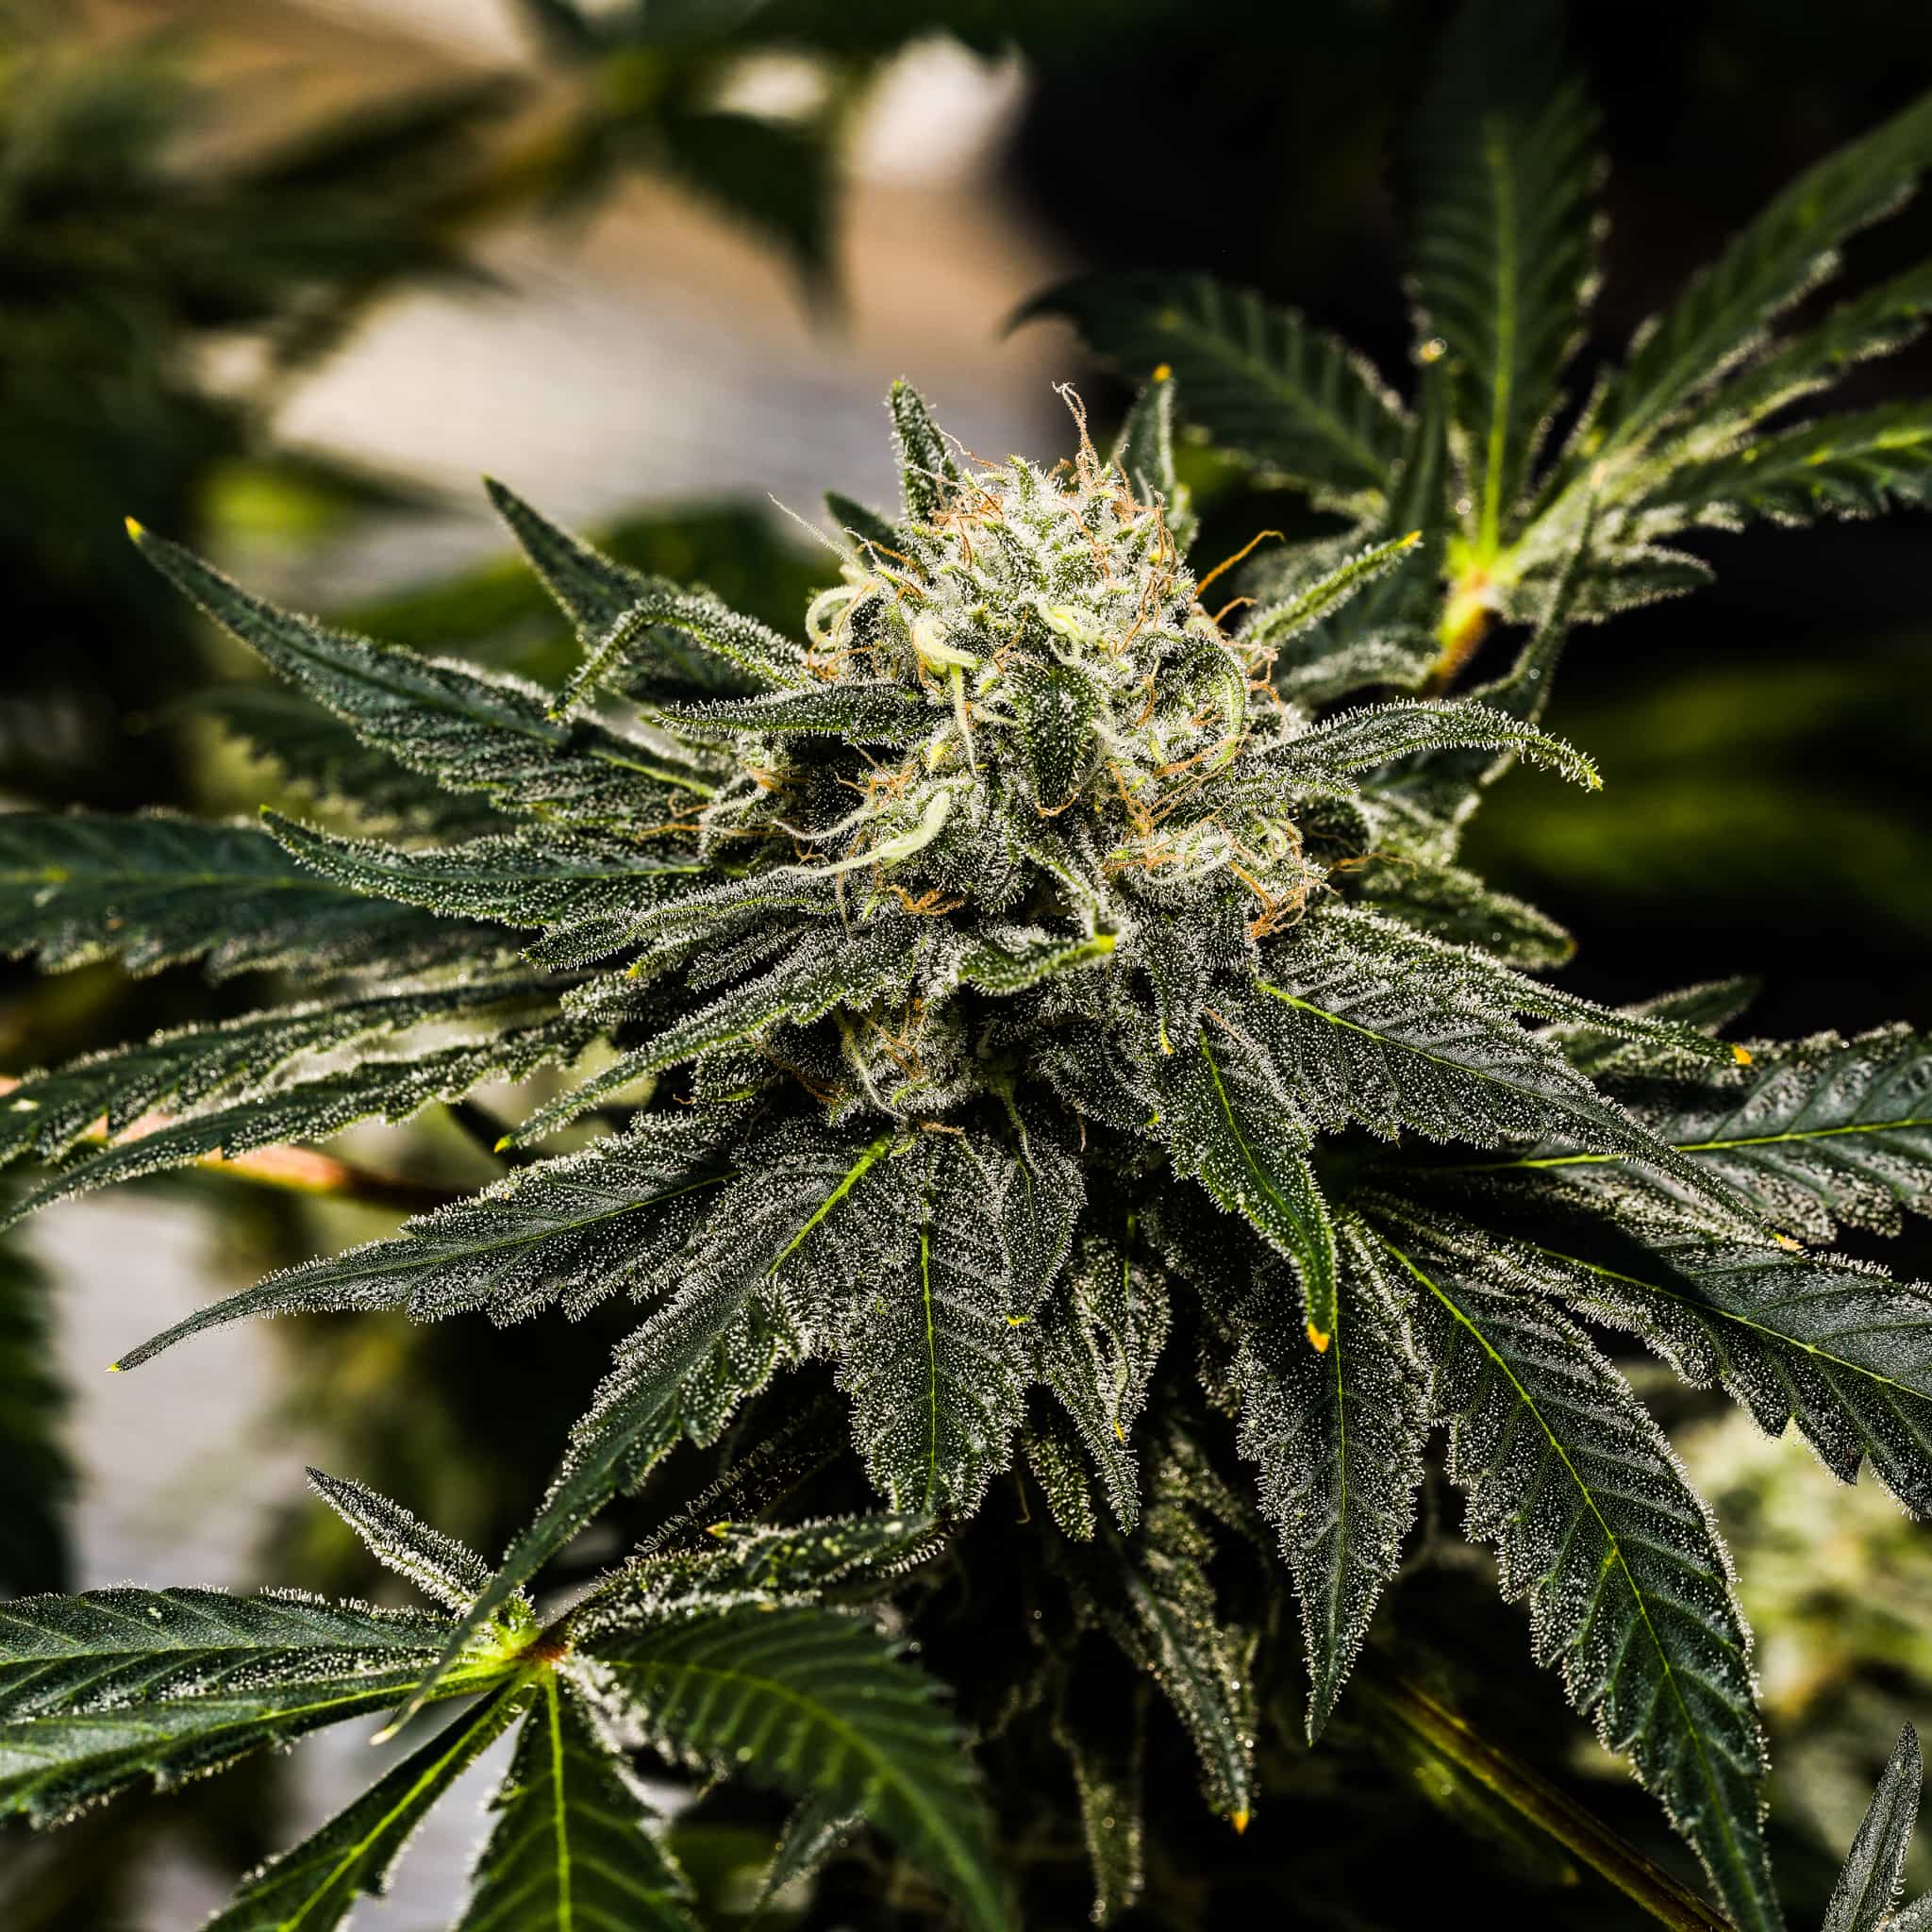
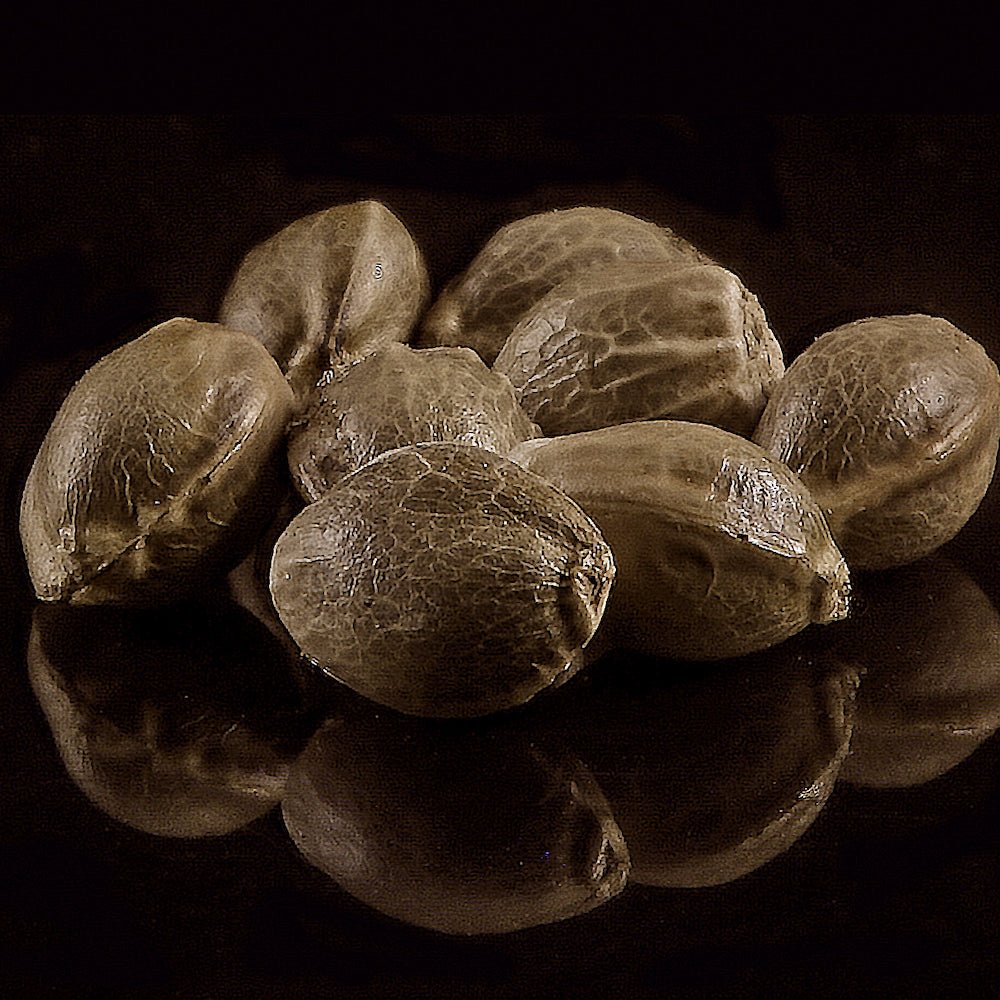
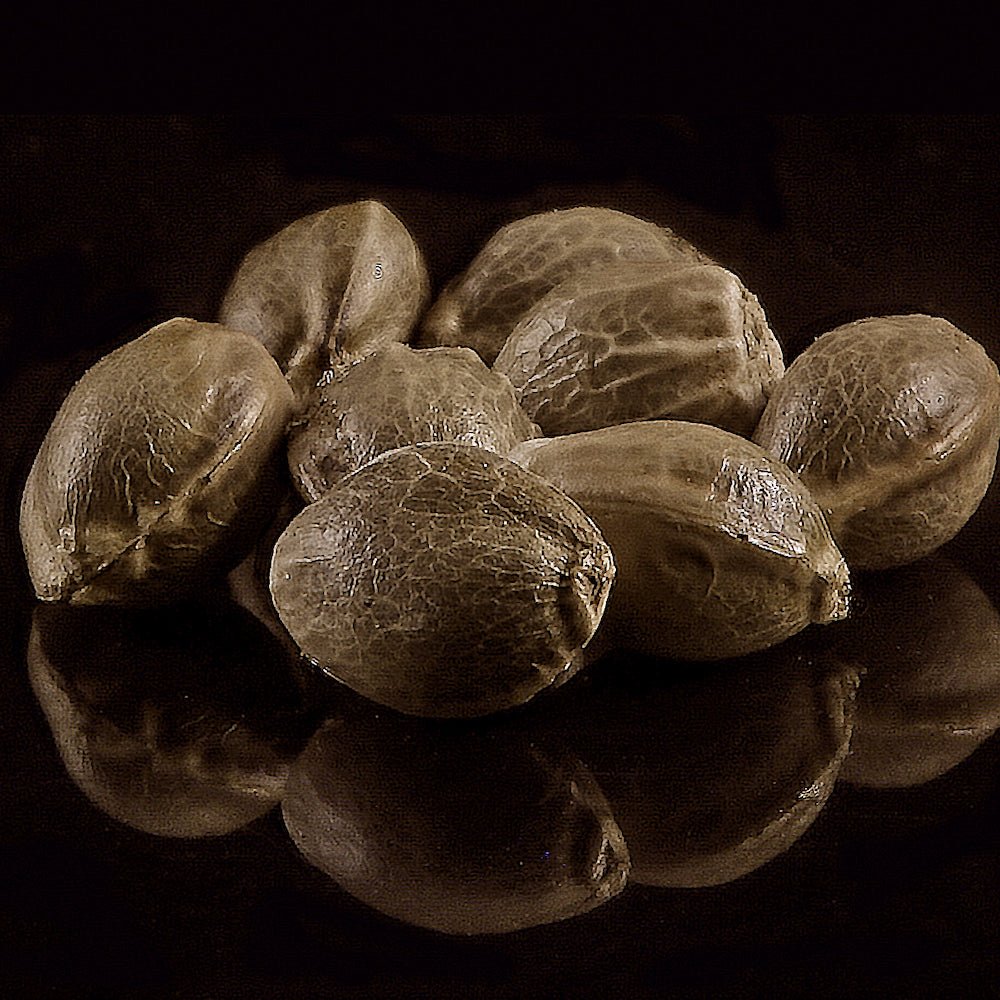
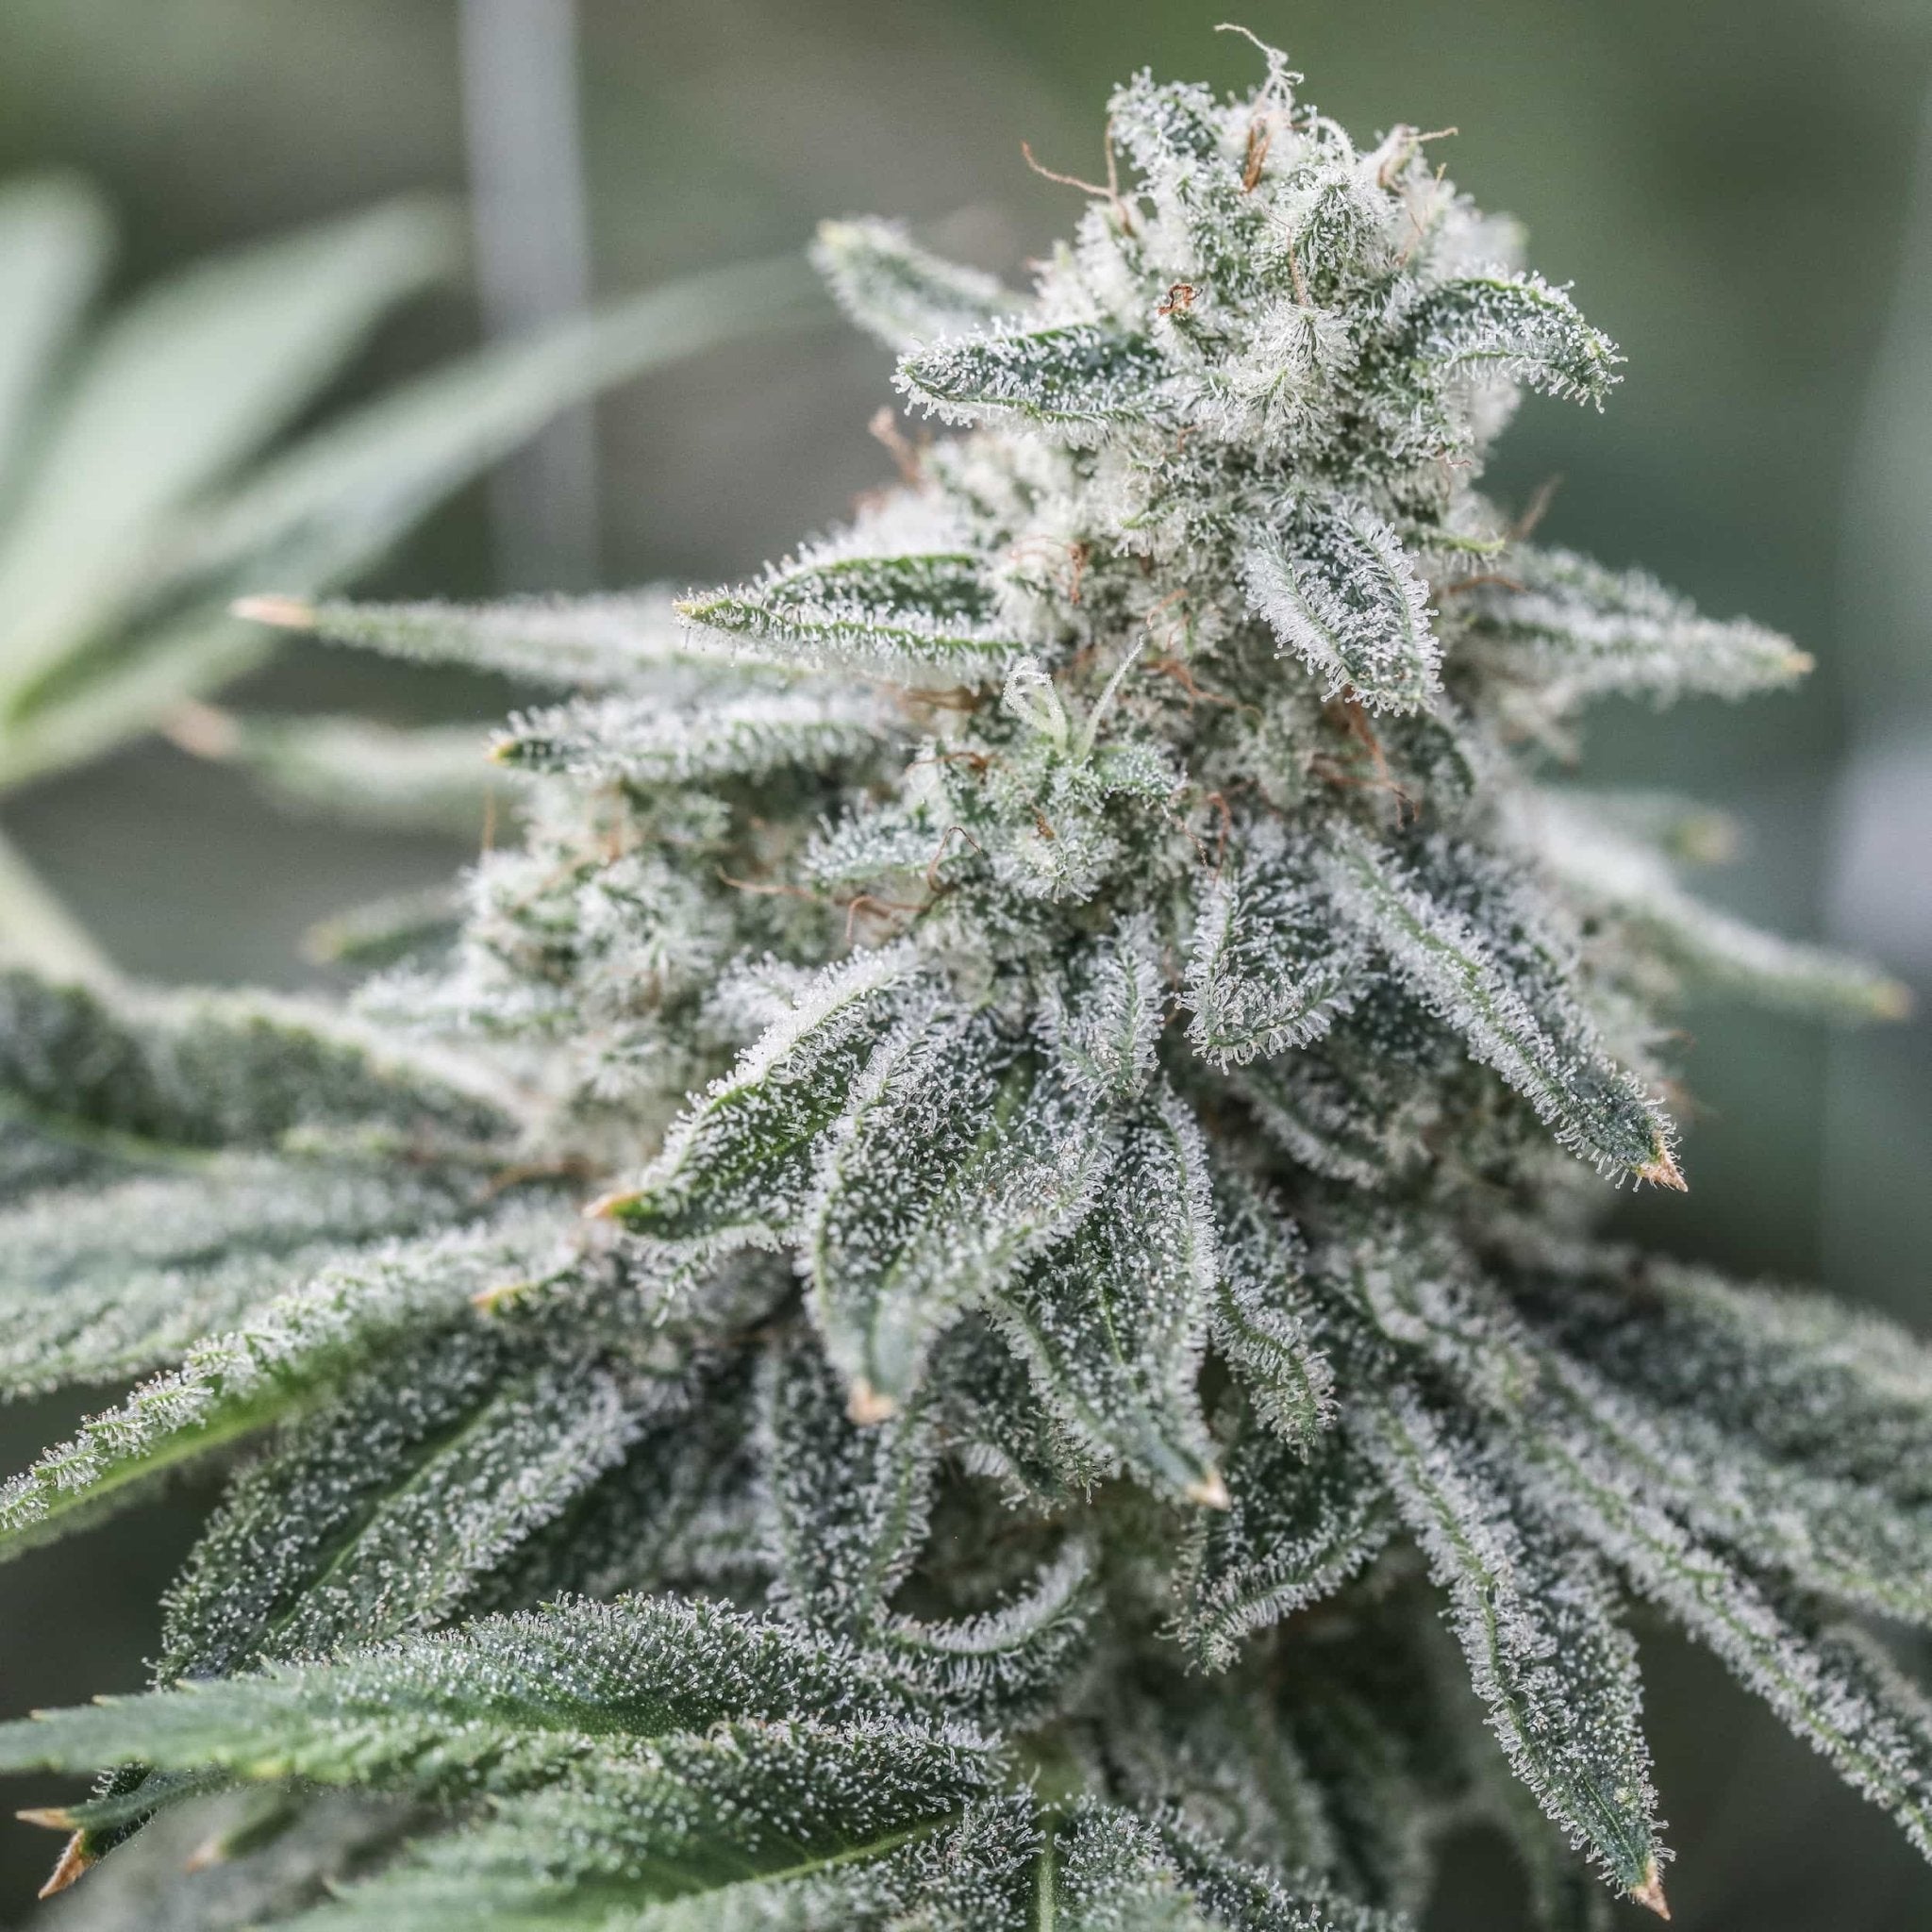
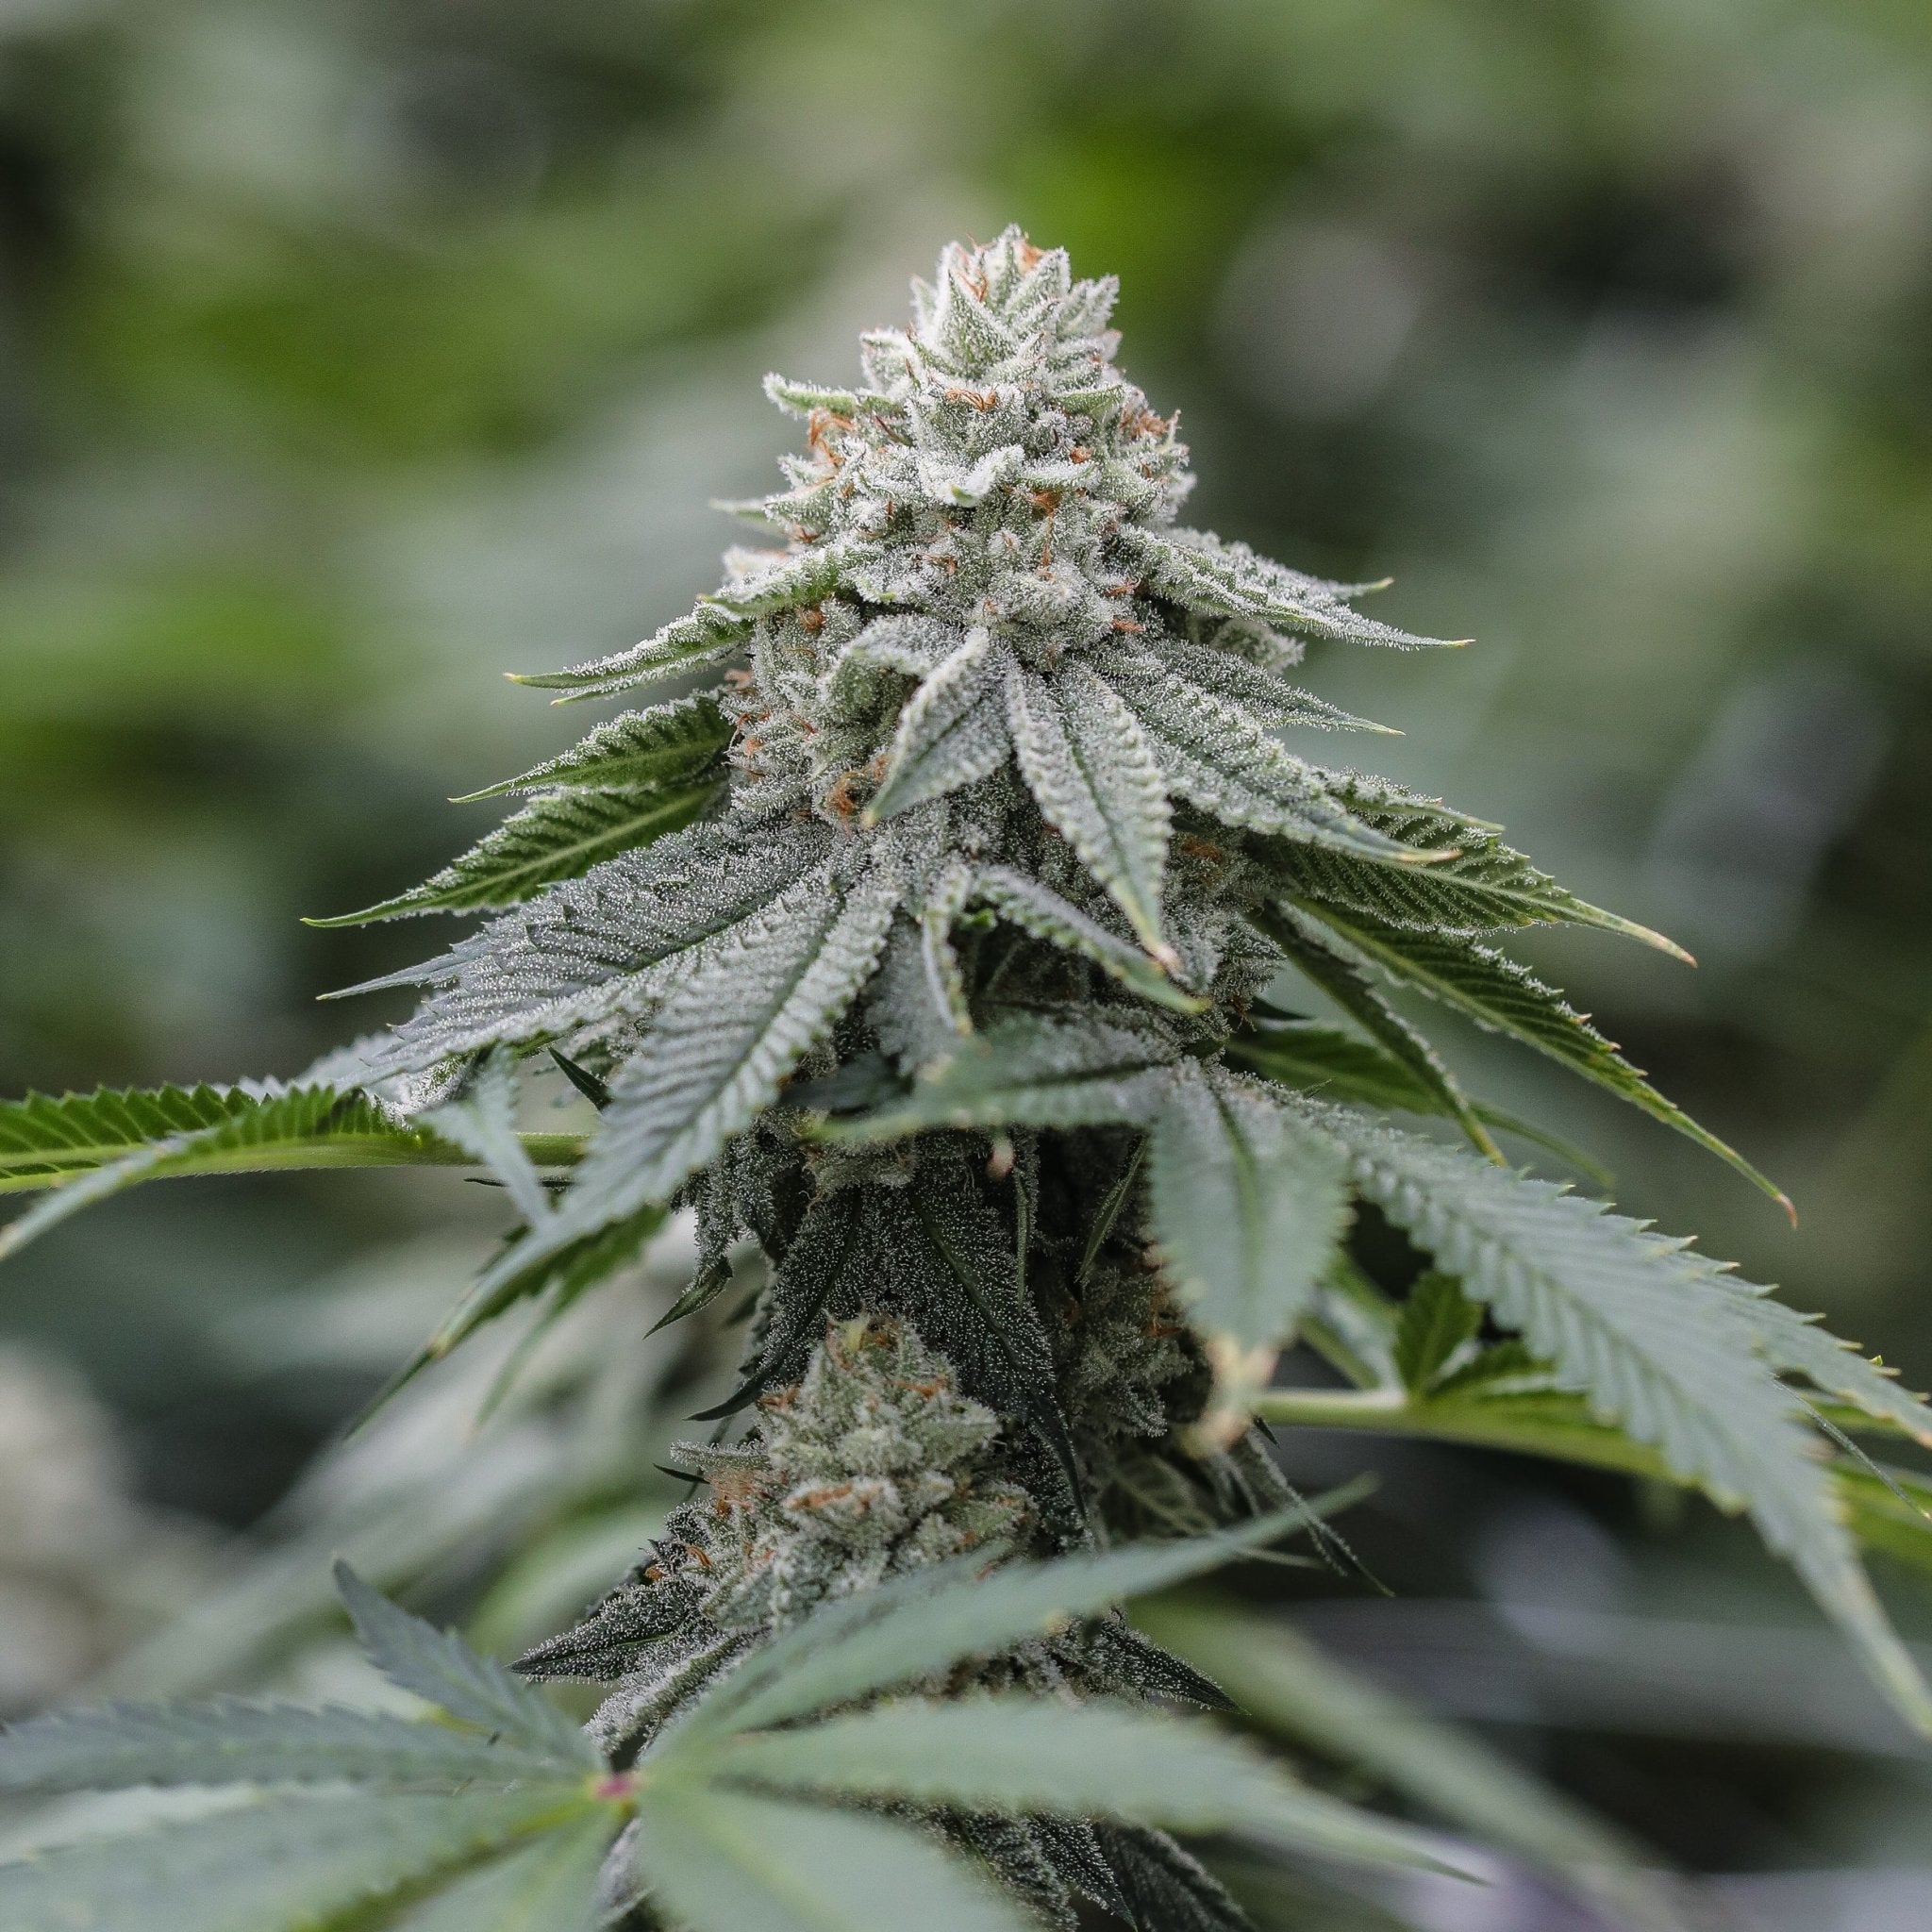
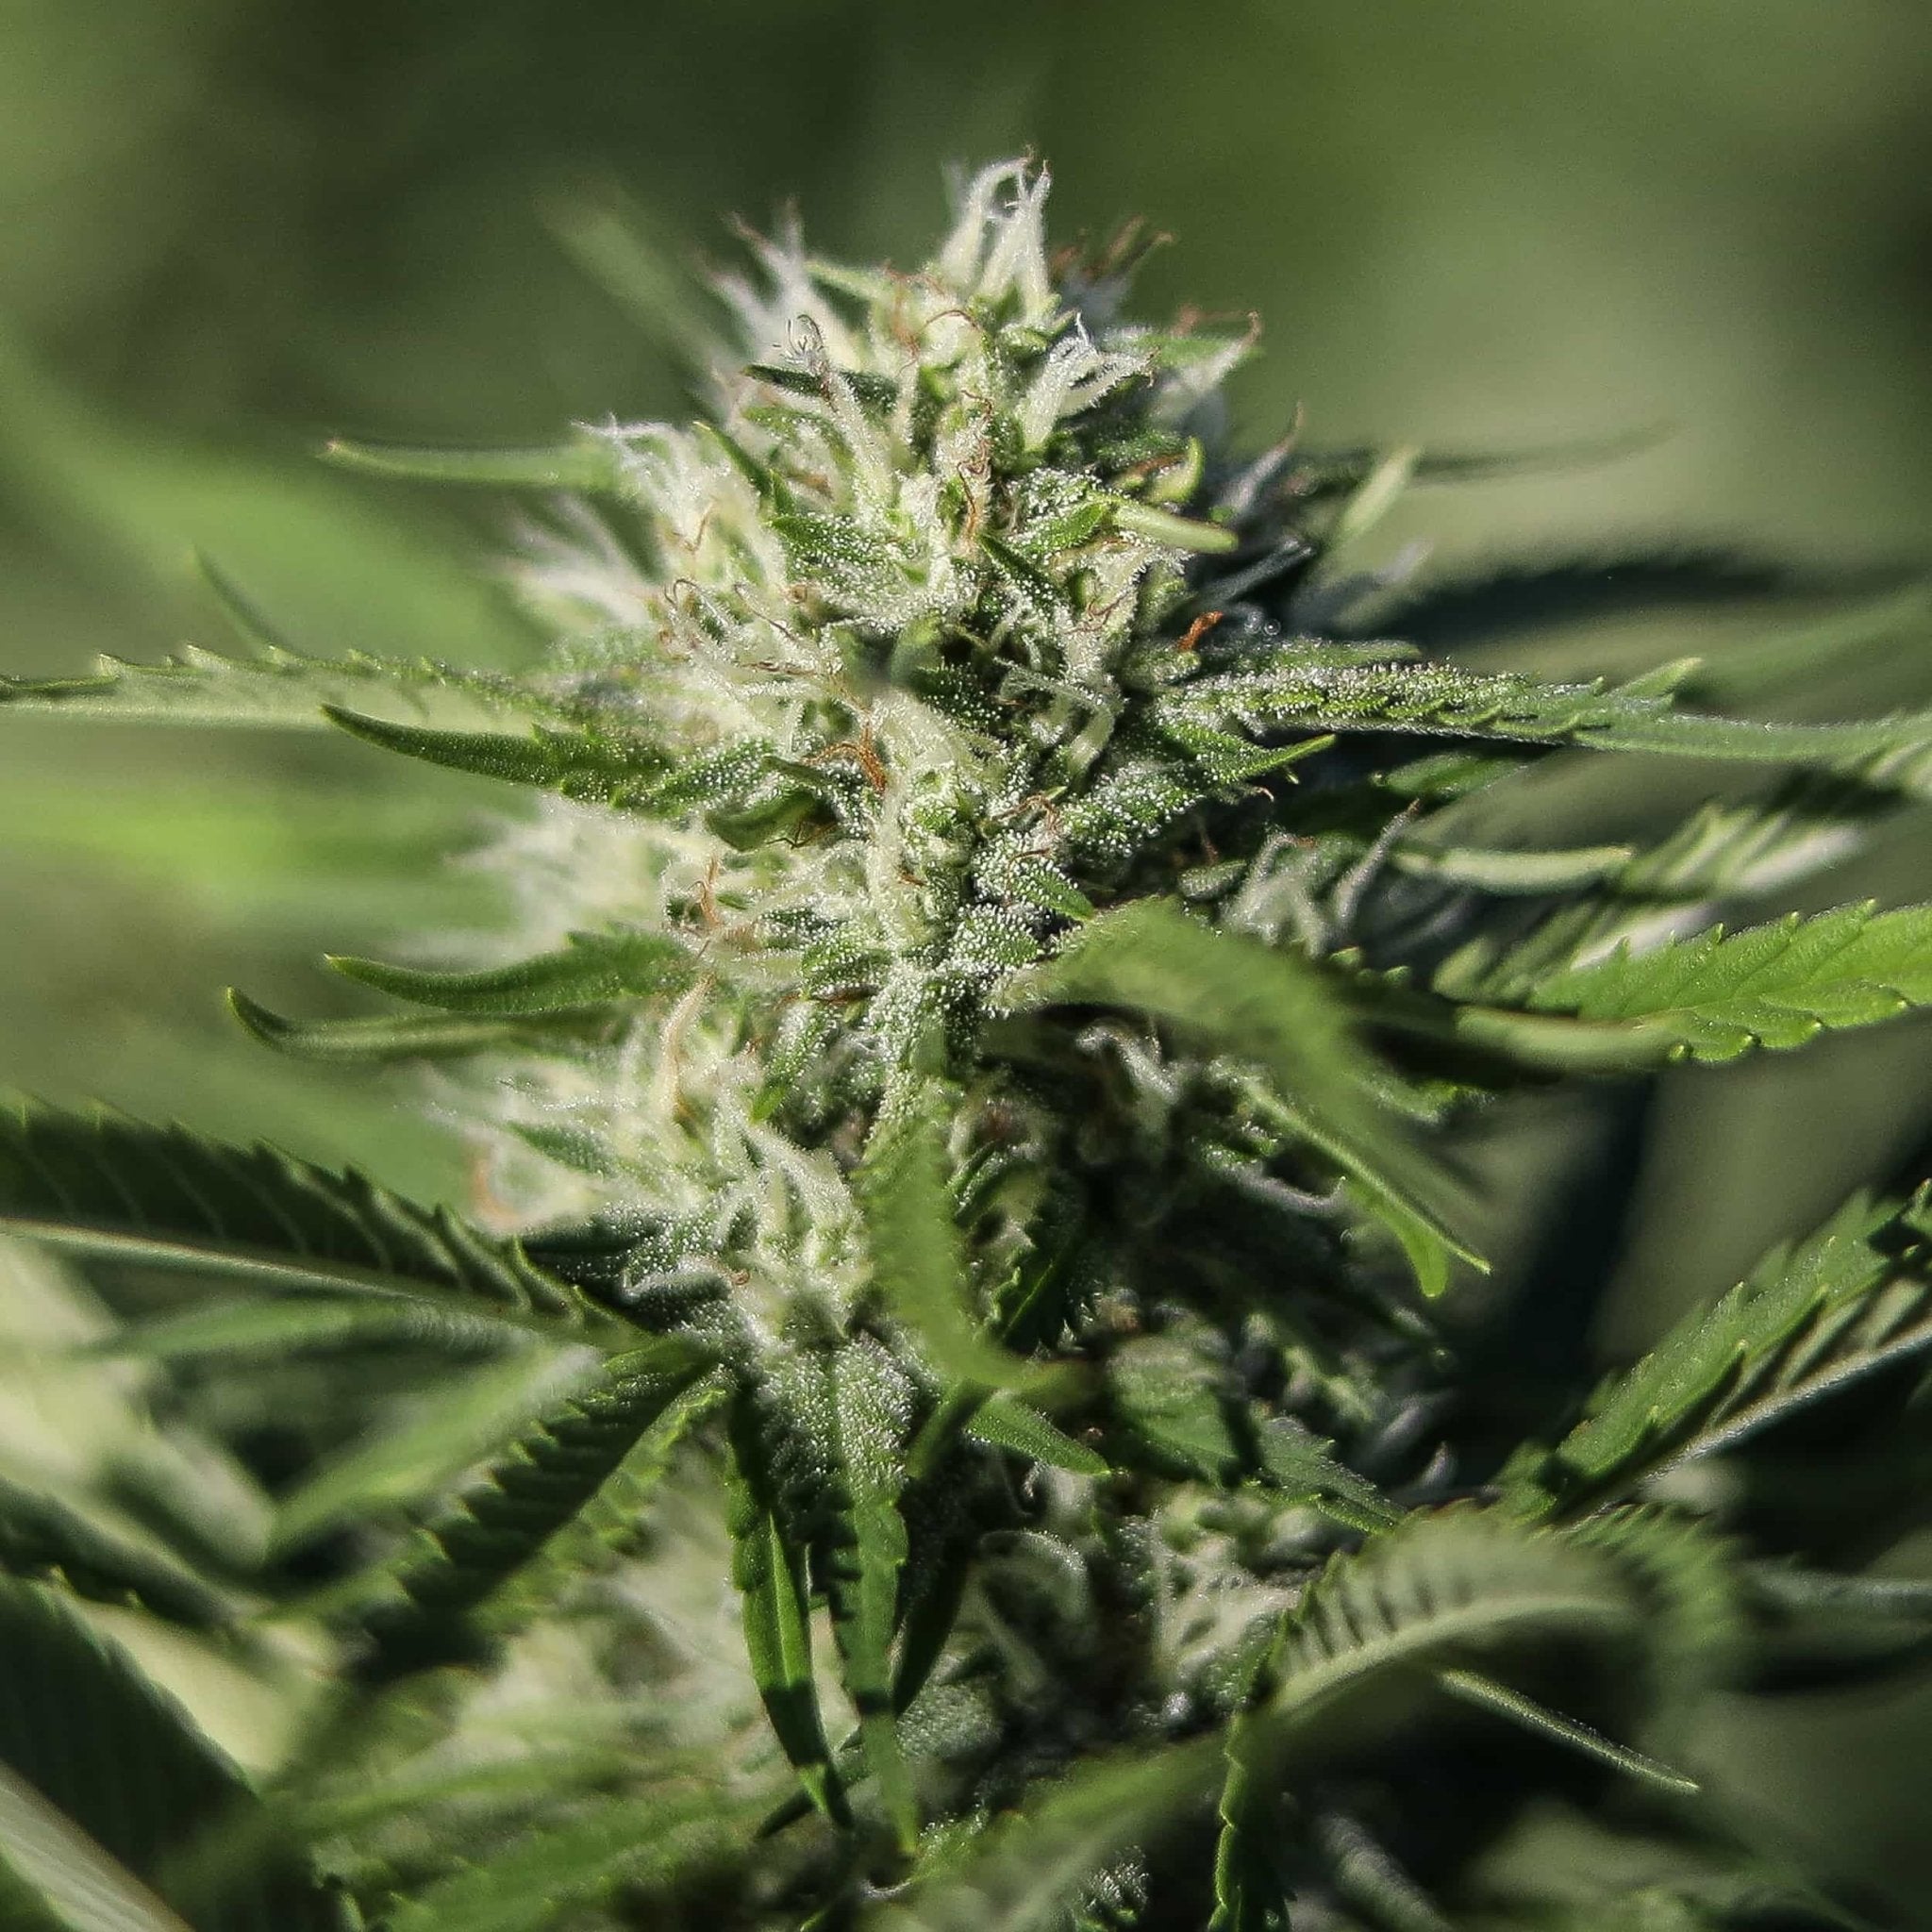
Whether you are growing photoperiod CBD seeds, CBG seeds, THC seeds, THCV seeds or triploid seeds, we have the same basic recommendations. While not all seeds are the same, the instructions for germinating our genetics are.
Note: We strongly discourage growers from pre-soaking seeds, or starting seeds in damp paper towels, coffee filters, or ever putting them in plastic bags. Whatever random wisdom your homie told you, ignore it. While this may work with some seeds, it does not work with all.
Planting directly into soil is the most reliable method of seed germination. We also do not recommend using soil-less mediums such as peat pods, jiffy pots, or coco coir. Ensuring proper moisture levels is more difficult than with soil.
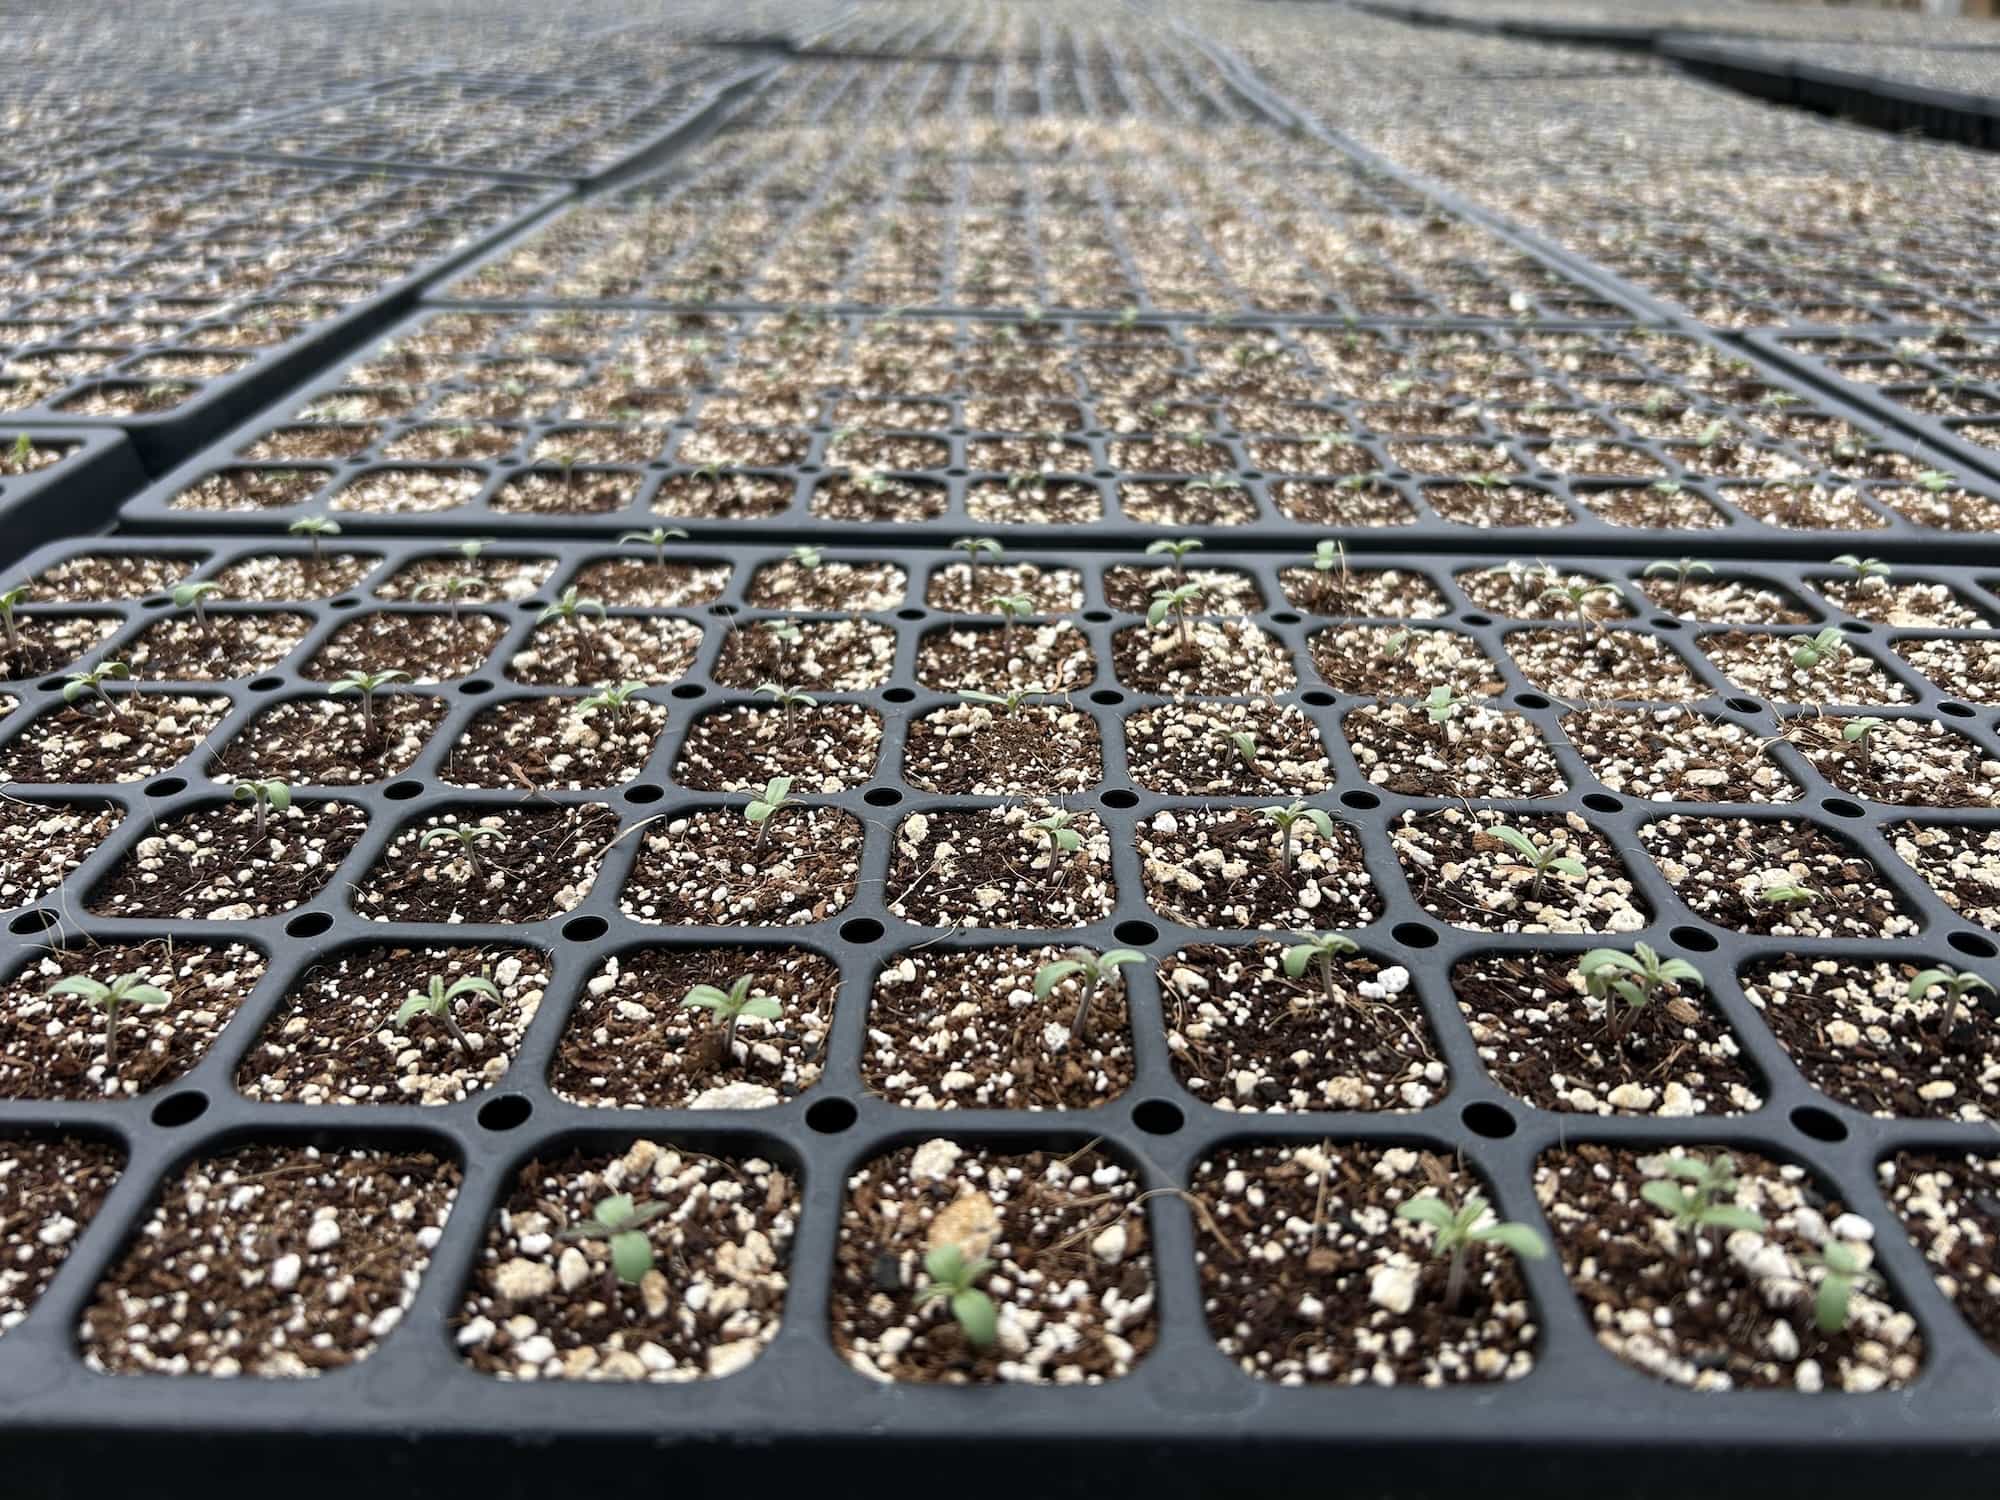
We work with farmers who germinate millions of seeds every year, millions, and soil is the most reliable and effective means of sprouting seeds. Period.
How To Germinate Cannabis Seeds Successfully
If you are growing autoflower cannabis seeds, visit our resource here.
1. Gather Your Gear
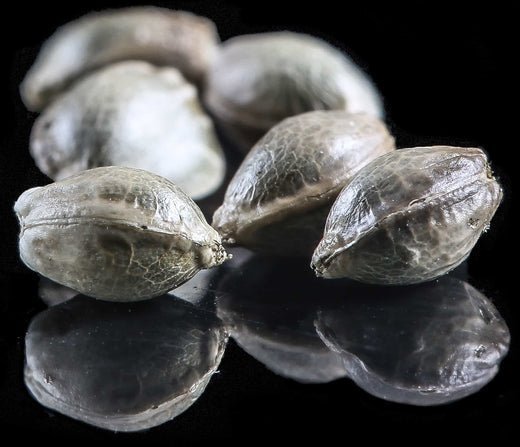
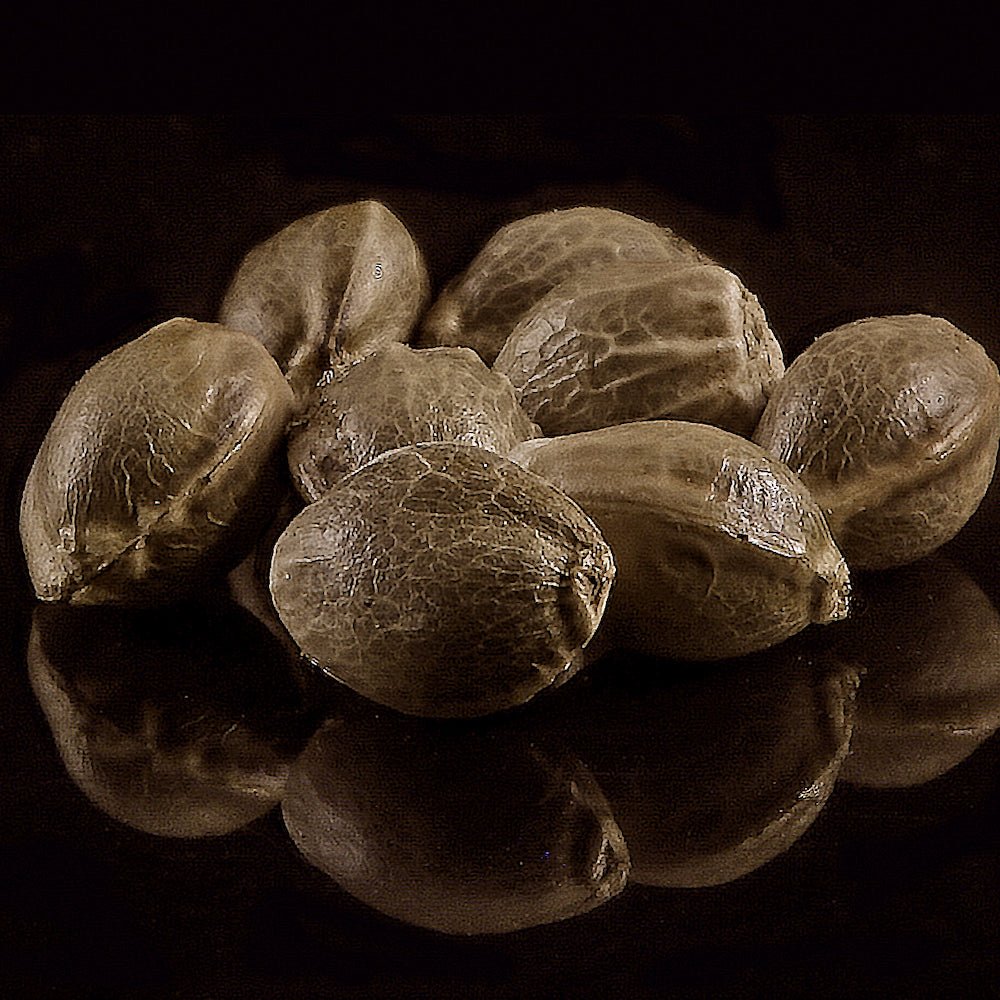
- Cannabis Seeds: For best results, use ours :)
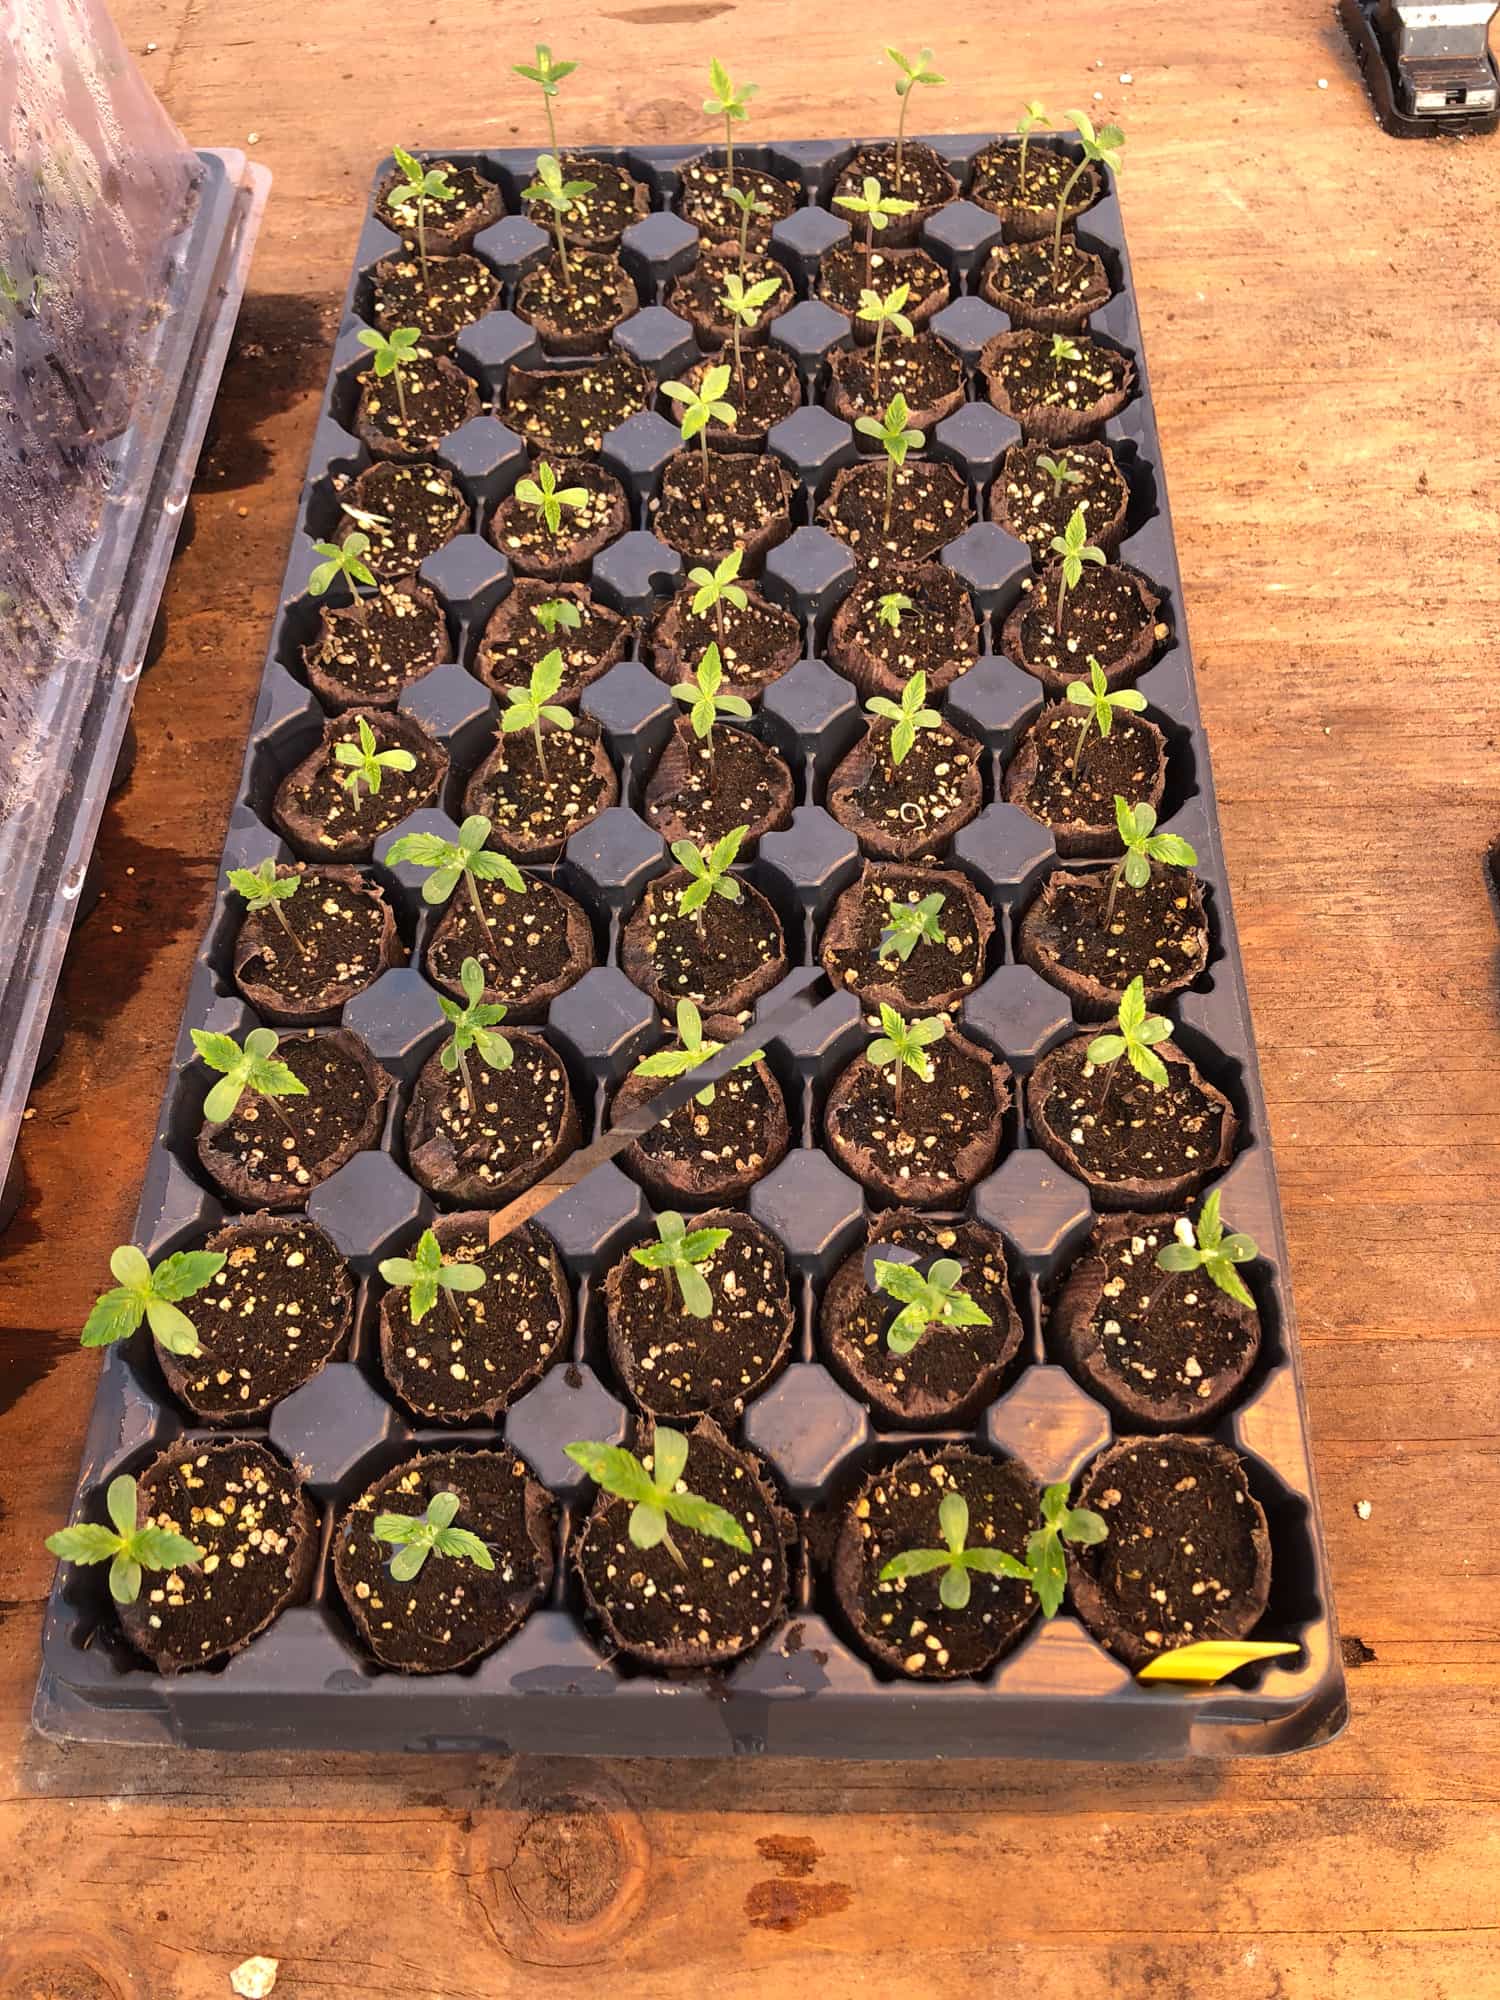
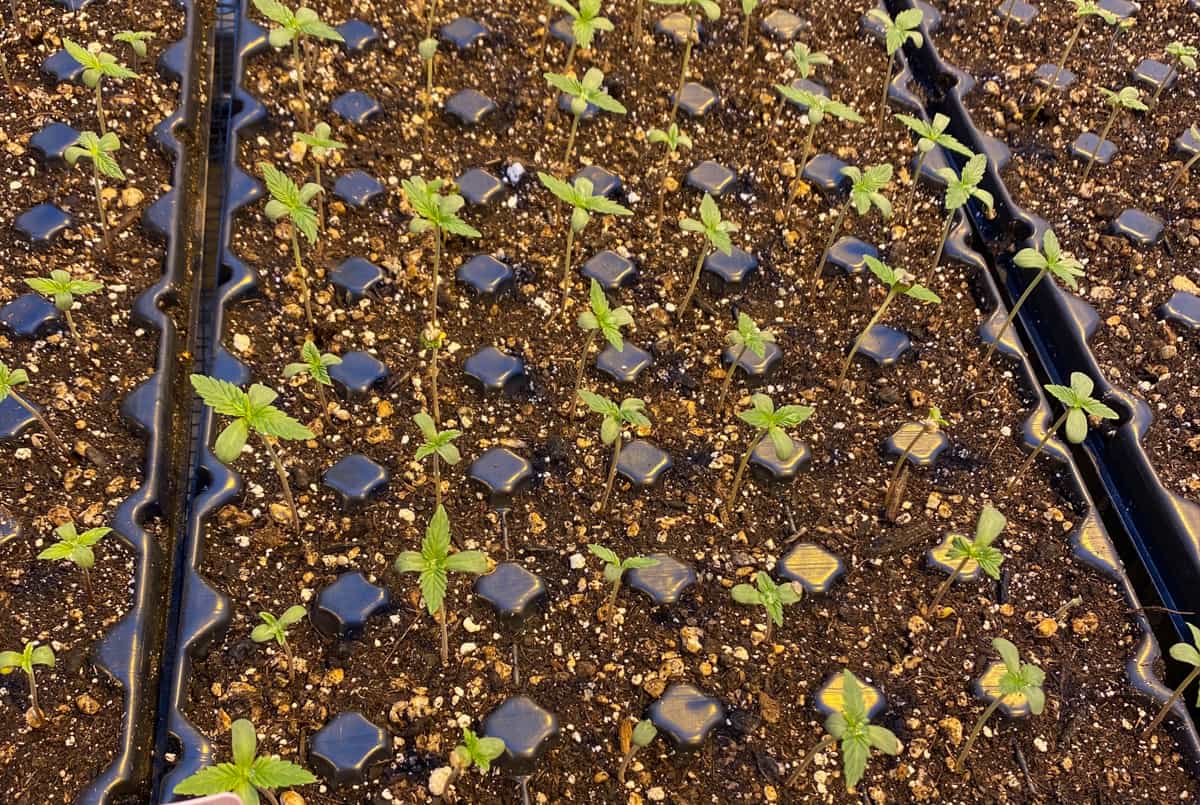
- Pots or Seedling Trays: We recommend 4x4 inch pots or solo cups for home growers. Larger containers can be used, but require greater resources. For larger scale operations, we recommend 50-75 seed vegetables starter trays.
- Quality Potting Soil or Seedling Mix: Clean and well draining soil with some, but low amounts of nutrients to prevent burning young seedlings. Seedling mixes can be used but plants will require supplemental nutrients very early on. We not recommend using recycled soil unless it has been sterilized.
- Water: A pH between 6-7 preferably, acidic or basic water sources may kill seedlings.
- Lighting: Seedlings are light hungry from emergence. Greenhouses are ideal, but high intensity lights can also be used. Do not use CFL's our low output lights.
- Heat Source: Soil temperatures need to be a minimum of 65°F, but we do not recommend heat mats as they dry soil very quickly.
2. Seed Germination

- Plant seeds directly into a small pot filled with moist potting soil.
- Plant seeds about 1/4 inch deep.
- Cover lightly with soil and water gently.
- Keep temperatures warm - ideally between 70-90°F
- Ensure soil remains moist, but not overly saturated until seeds sprout. Overly saturated soil will cause the seeds to rot. Dry soil will kill seedlings before they sprout.
4. Provide Proper Care
- Light: Start seeds in a light assisted greenhouse, or in a room with high intensity grow lights. A sunny spot in your home can work, but seedlings thrive with at least 16-18 hours of high intensity light per day. Lighting such as fluorescent or low wattage lights do not provide adequate lighting. Plants without adequate light will become very weak, leggy, stretch, and eventually fall over on themselves.
- Water: Keep the soil moist but not waterlogged. Allow the top of the soil to dry out between waterings after seedlings have sprouted.
- Humidity: Maintain high humidity (around 70%) until seedlings are established.
-
Patience: Our triploid seeds generally take longer to sprout than our diploids. Do not give up after day 4, some seedlings, particularly triploids, may not come up until after day 7.
5. Monitor Seedling Growth
- Watch for strong, healthy growth and adjust light, water, and nutrients as needed. If you notice your seedlings are stretching, move lights closer. If they yellow early on, you may be over watering or plants may be nutrient starved.
- Feed when in need. If you are using small containers such as seedling trays, plants will require supplemental nutrients within the first few weeks after emergence. We recommend a nitrogen rich or all purpose liquid fertilizer. Always start at half strength and move up.
6. Transitioning Seedlings
- Once seedlings have 3-4 sets of leaves, you can start to acclimate them to lower humidity.
- If you started them indoors and plan to plant them outdoors, you may also begin to transition them to more light intensity.
- We recommend leaving seedlings in a shady area for 2-3 days before planting outside if they have been solely under artificial sunlight.
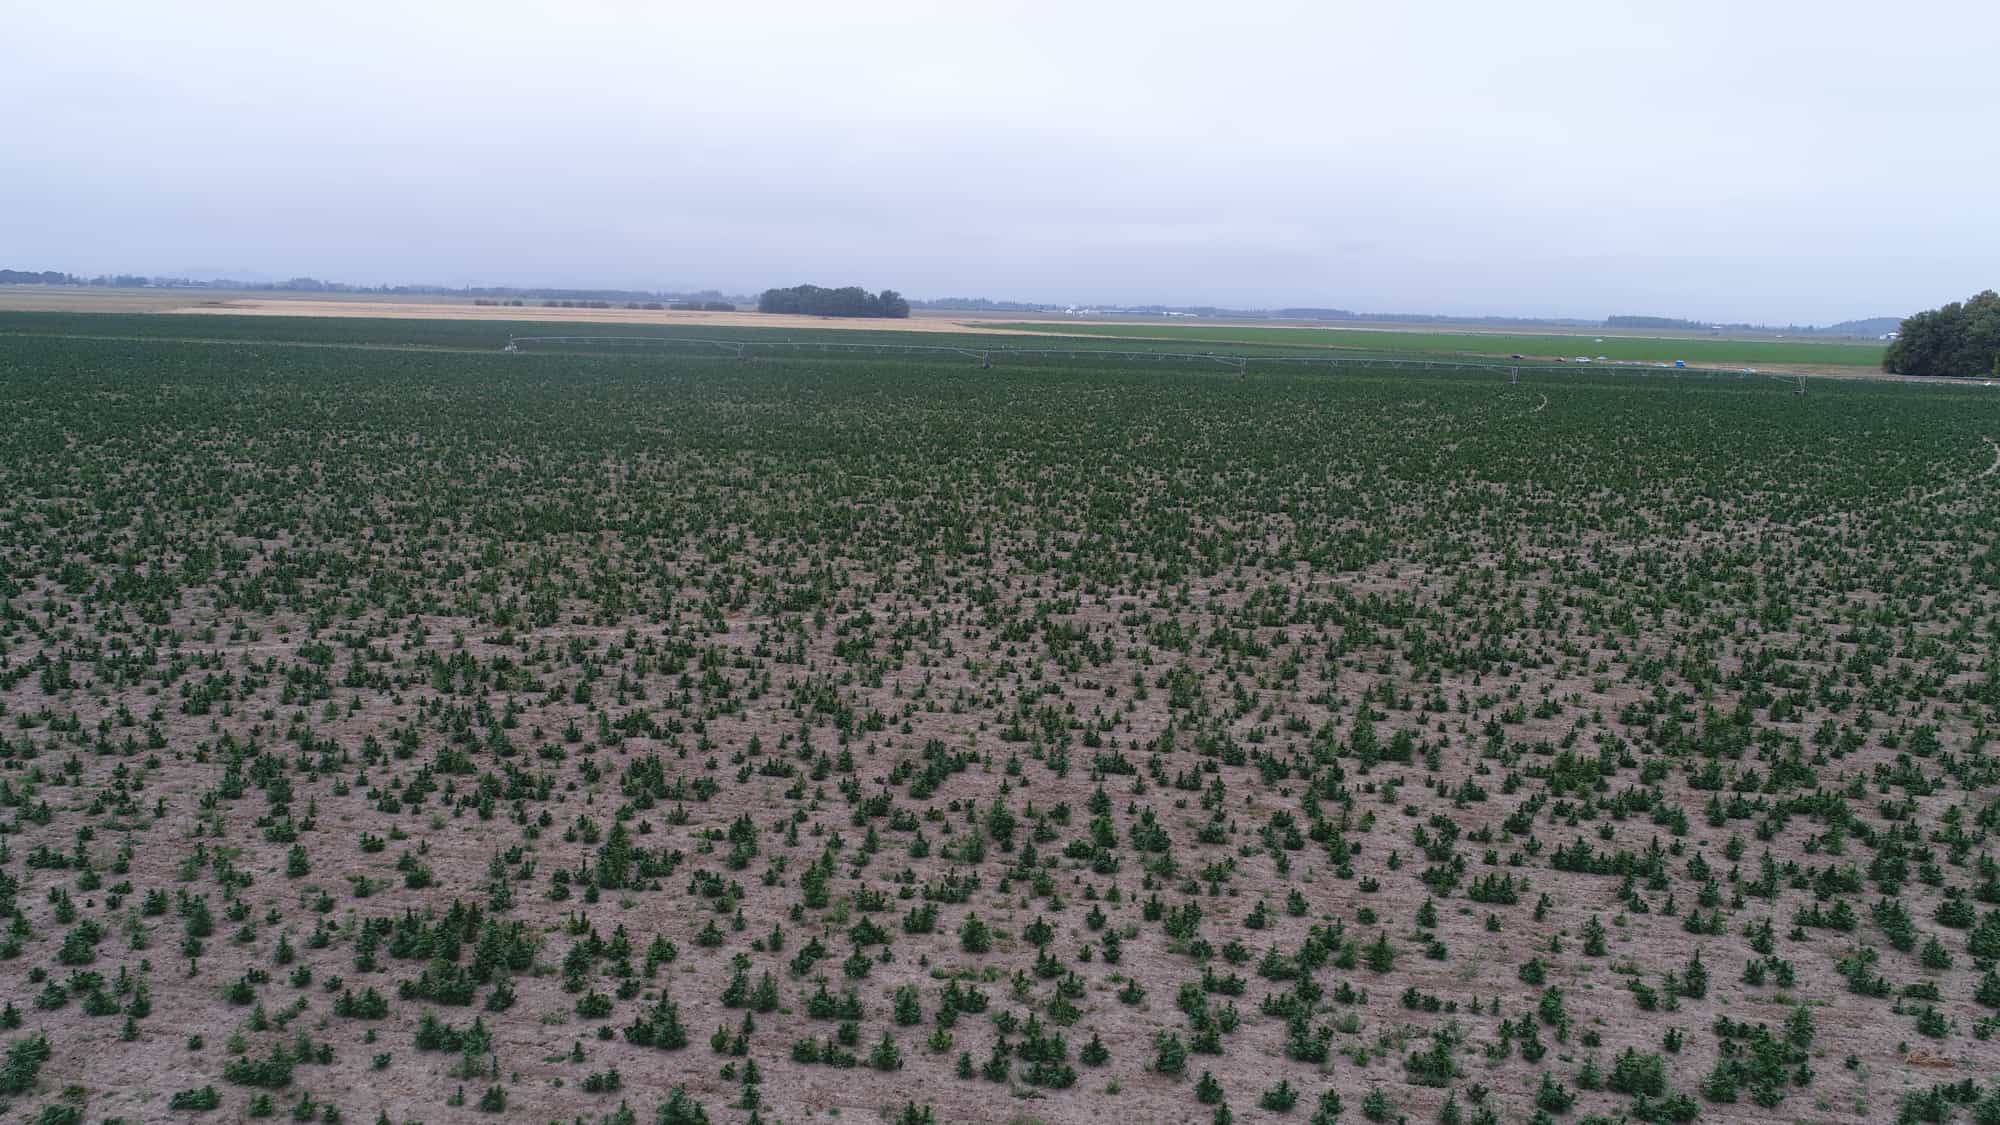
- Plants started in greenhouses do not need to be transitioned and can be planted directly outside.

